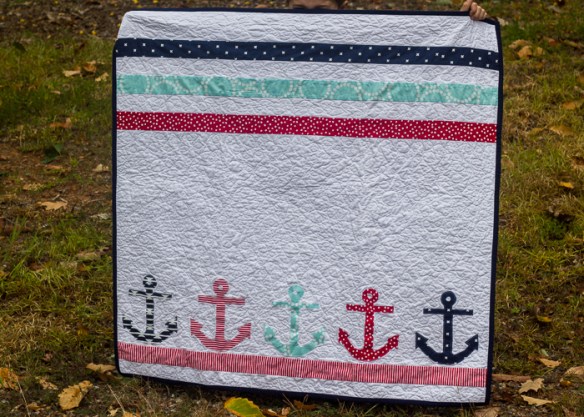
 I’m back with baby niece number 2’s quilt! This sweet babe is due a mere 10 days before my own little boy, so it’s very exciting to have all these cousins coming so close together! My brother and sil are doing a nautical baby nursery with the main colors being red and navy blue.
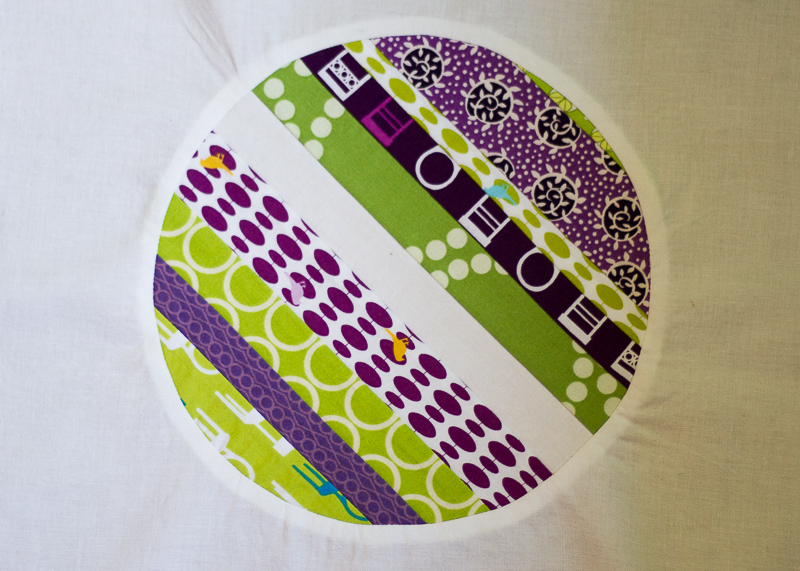
 I wasn’t exactly sure how I wanted to include the nautical elements into this baby quilt so I did some Pinterest searching for inspiration and came upon this gem. I basically copied this idea pretty closely.
I had one yard of white kona cotton to use and figured out my dimensions around that. The large middle white section ended up being around 20-22″ by the width of fabric and the striped sections are about 2.5″ by WOF.
 For the anchors, I found a template online, used that to trace the anchor shape onto my fabric, applied heat n bond lite to the back of the fabric, and then appliquéd the anchors to the quilt. The anchors are around 7″ tall.
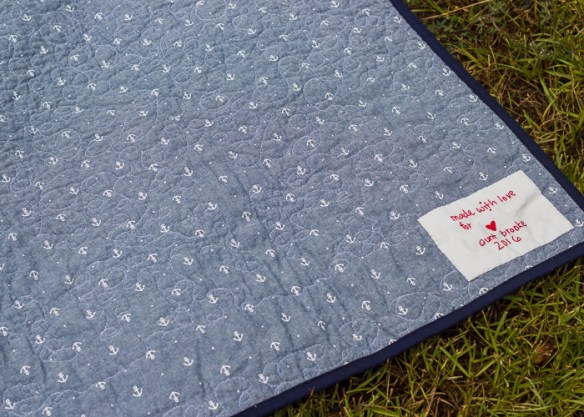
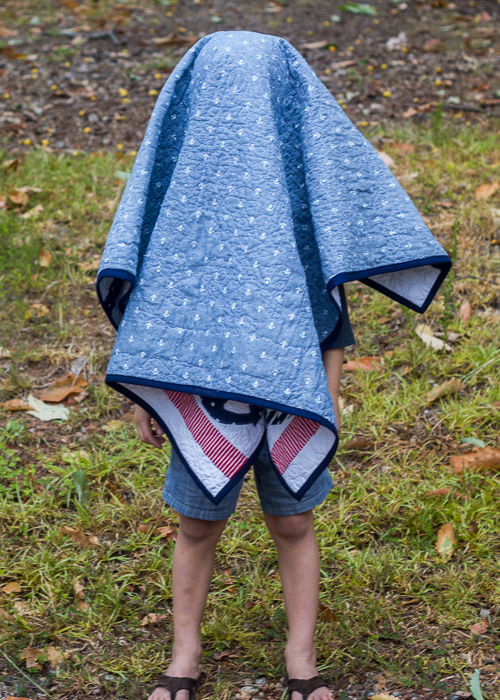
The final quilt size ended up being about 41×45″… I used some navy kona cotton to bind the quilt and this awesome lightweight chambray anchor print for the backing. I had bought this chambray at the beginning of the summer to make shorts for the boys and never got around to it. It ended up being the exact size I needed for a backing so it was awesome not to have to piece anything for the back!
 The quilt is free motion quilted with a pretty dense loopy stipple on the white sections. I thought all that white fabric needed some dense quilting to add dimension. And then I left the color strips and anchors un-quilted to let them pop a bit.
My goal with this quilt and the previous one was to only use fabric from my stash. With the exception of the yard of white kona that I had to buy, everything else was stashed! I think I used up every single piece of navy blue and red fabric that I own but I had enough! Apparently navy and red are not colors that I use a lot.
 I love how this turned out and I am excited for my baby niece to get to use it!! FYI I blurred her name out on the label because it hasn’t been announced to the general public yet, and I wanted to let her mom and dad do that, not me!
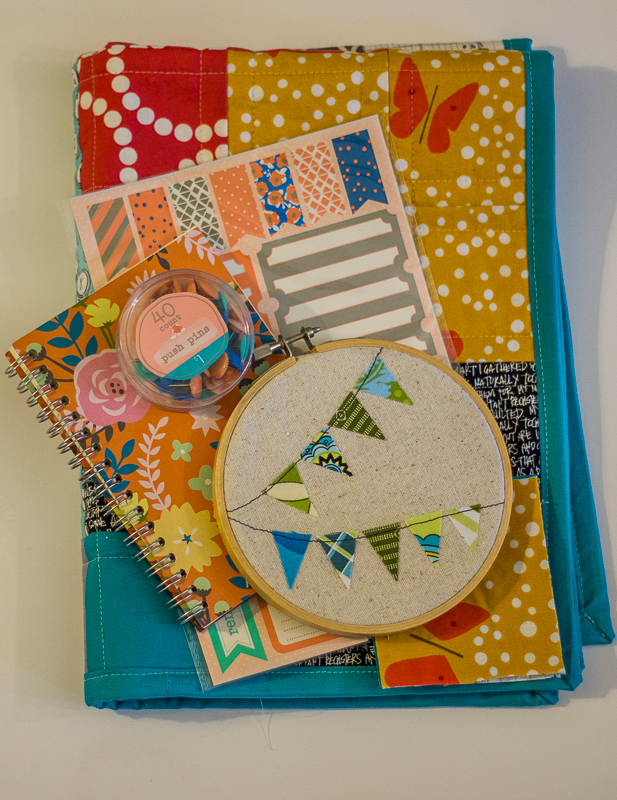
 We are on a nice long road trip this week to Wisconsin for a family wedding, and it just so happened that my brother’s house was the halfway point so we stopped there for the night and I was able to give baby Chloe’s quilt to her mommy and daddy!
 I’ve had this charm pack sitting around for a very long time and while deciding on a quilt for my upcoming niece, I realized that these charm squares were the same colors as the nursery theme- match made in heaven!
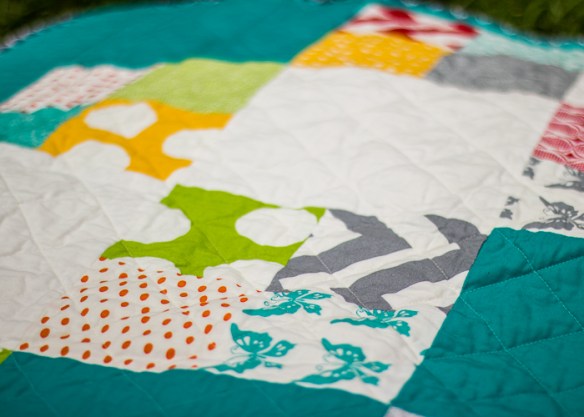 After some pinterest searching, I decided on the fast 4-patch quilt pattern. It was a super quick sew since I didn’t have to cut out the smaller squares! I alternated the 4-patch squares with white and teal solid Kona cotton blocks. The design was an evolving one, and I was thankful for my quilt layout board on the wall in my sewing room to hang the blocks up as I decided how exactly to arrange them. I super love the end result!
 My sil loves teal and chevron so I used this chevron print from my stash and combined it with the grey solid and grey polka dots to make an easy backing. The quilt is bound in some dark grey metro dots from ancient days… Are you sensing a theme? My goal was to have all the fabrics come from my stash and I’m happy to say I was successful!
 I quilted it with a crosshatch pattern and love the crinkle it gives to the finished quilt. I’m normally really bad about labels but I wanted baby Chloe to have this quilt as a keepsake so I hand embroidered a little note for her on the back of the quilt.
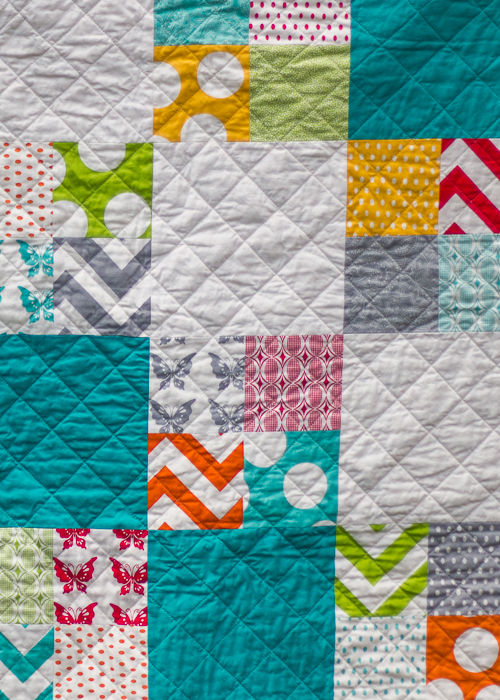
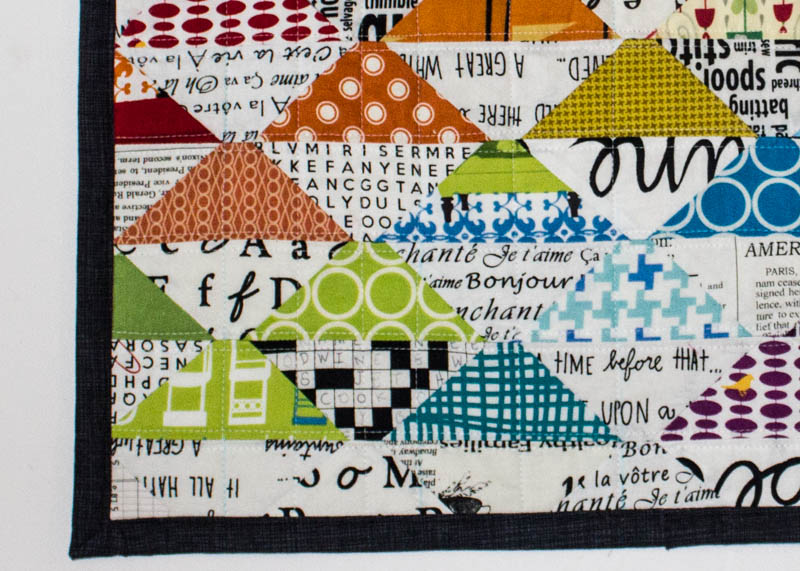
 I’ve been struggling with my sew-jo the last few weeks and just have not had the drive to tackle all the projects spinning in my head. All last week I wanted to make some more valentines decor but just couldn’t decide what I wanted to do. Finally this week, I got a little inspiration and whipped up these two little mini quilts and I’m so happy with them!
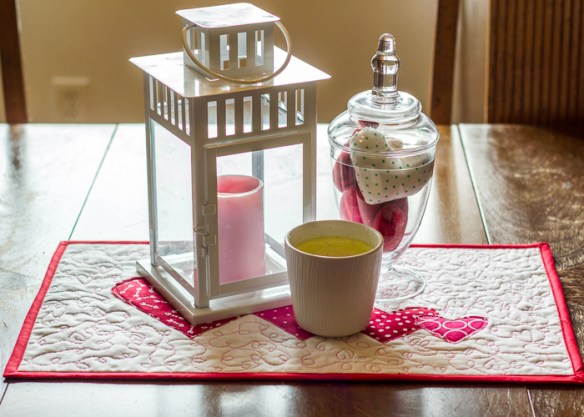
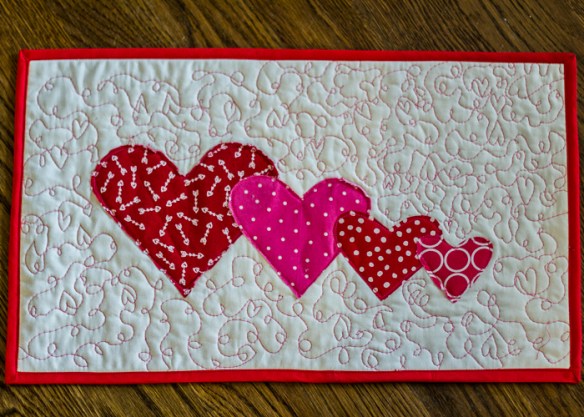 This first mini is a table runner for my dining room table. I had some leftover valentine-ish fabric from when I used to sell baby onesies and wanted to use it to make a heart runner. I just did not have the patience or brain space to figure out how to piece this to make a legit heart runner so I totally just appliquéd the hearts onto some white Kona. Easy peasy! Then I had some fun with the quilting and decided to try to free motion some hearts in my loop-de-loop. It’s definitely messy but I kinda love how it turned out! Lots of pink and white and red all meshed together…perfect for some cheerful decorations.
 I had a little bit of the arrow fabric left so I appliquéd two more hearts onto a smaller white square and ended up with this little mug rug. Since there’s less white space on this mini, I decided to stick with some straight line quilting in coordinating thread. I was afraid it would look too busy otherwise. I don’t have a lot of decorations out on my coffee and side tables in my living room because kids. (need I say more?), but I have started keeping some seasonal mug rugs out and I love how they brighten up the room and add a little something special. Plus I love to drink my tea so they are actually quite handy for my mugs!
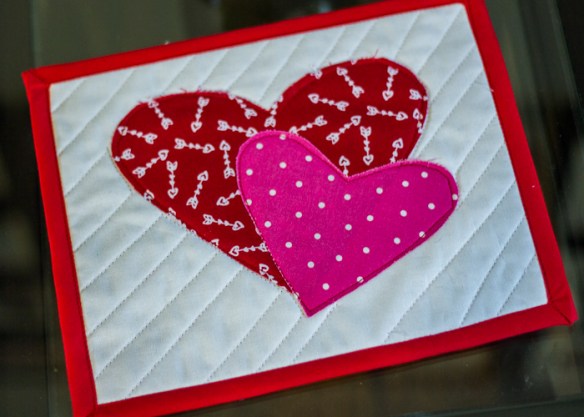 Now that I’ve got these sewn up so quickly, I’m wondering why I dragged my feet all last week on these projects! I know not everyone decorates for Valentine’s Day, but I can’t resist a chance to be cheesy and I do think hearts everywhere just brighten up a room! Plus Oliver is now used to my decorating and asked why we didn’t have Valentines stuff up last week…that kid is getting way too observant!
 This won’t get too much use this year as it’s so close to the actual holiday, but now I’ll have some stuff ready to put out next year when February rolls around! And I may just leave it up till the end of the month…just because I can. 🙂

 I cut apart the panel pieces and arranged them in a 3×3 rectangle of blocks. I added some white kona cotton as necessary to even the blocks out. I was really trying not to spend any more money on fabric so I used the two green Grinch prints that I had to border the quilt. In retrospect, the two greens together are a little too busy and I wish I would have spent a little more time and money to put a border between them . Especially for something like a quilt that’s going to last a long time, I have learned it’s not worth it to make something I’m 100% happy with.
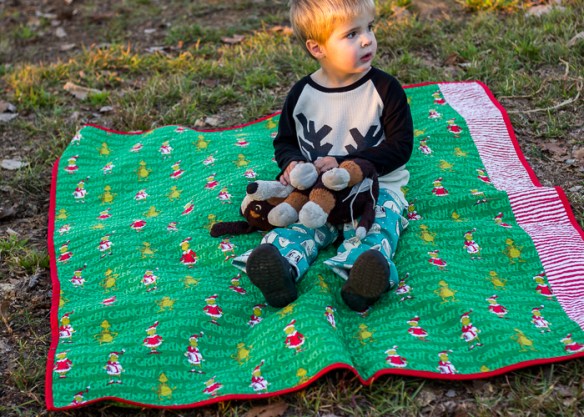 I didn’t have quite enough of the Santa Grinch print for the backing so I used a red and white stripe print from my stash to complete the back. I do so love the little pop those stripes give it. For the binding, I just used a pre-made red binding….which I would not recommend! It bled all over the white spots in the quilt and I had to do a lot of re-washing and sun-bleaching to get the red stains out. Thankfully they did eventually come out.
 The quilting is just a basic stippling in gray. Love the texture a stipple quilting pattern gives without taking away from the main focus of the quilt.
")
")