Last month I got an email from Art Gallery Fabrics asking if I would like to sew up something as a part of their September celebration of National Sewing Month. Um, yeah, didn’t have to think twice about that one. The thing that took me forever was deciding what to sew and what fabrics to use! I’ve been dying to sew up some pajamas ever since Kelli at True Bias made these Lion pjs and after much thought I decided this would be the perfect chance to sew with some fun fabrics and make my pajamas.
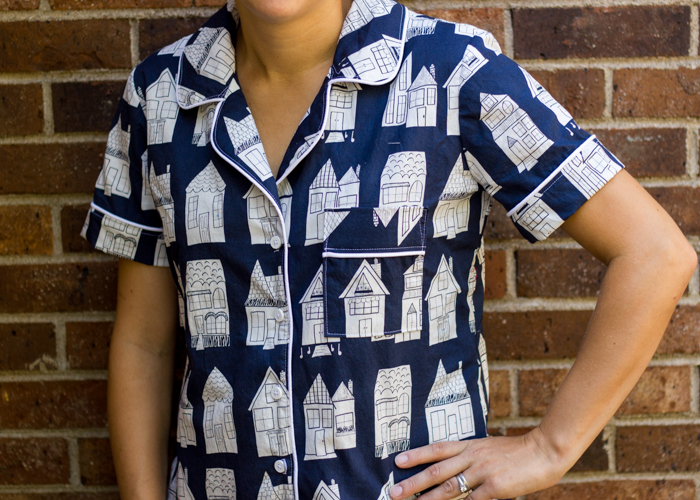
 The fabric I chose was Block Party from the Happy Home collection. I don’t normally sew clothes for me with quilting cotton but the Art Gallery fabrics are a lighter weight than normal quilting cotton and work out pretty perfectly for pajamas. I also enjoyed using a fun print that I wouldn’t normally get to use! Not having any little girls, I don’t get to use all the fun prints out there very often so this was a treat for me.

I used the Carolyn Pajama pattern– view C from Closet Case files. I’m usually a tank top and shorts pj person but I thought it would be nice to have some dressier pjs for when we have company or I just feel like wearing them all day. ;). Based on my measurements, I sewed up a size 8 and that’s pretty spot on. I like how it’s a comfy fit but not so boxy that it’s unflattering.
 This pattern is labeled as intermediate and I would definitely concur with that label. I actually found these a bit more complicated than I had assumed they would be. Mostly due to the amount of piping involved. I used some piping cord and Art Gallery pure elements in snow to make my own piping. I have never tried the continuous bias tape method but Heather’s tutorial was great and my bias tape turned out awesome! It is time consuming though- not going to lie about that…took way more time than I really had available. I had to rush thru the sewing part to get these finished on time. I also want to say that I am lucky enough to have a piping foot for my machine and while I don’t use it often, in cases like this, I am so thankful for it! I really aids the sewing process.

There were a few times that I had to really use my brain to figure out the instructions. Nothing too horrible but I think a beginner sewist would struggle through the shirt construction. Once I got it all sewn up though, I’m super happy with how well the shirt fits and how comfy it is!
 My one beef with this pattern is the shorts’ inseam. My cuff fits kinda funky- it rides up on the inseam and hangs lower on the outseam. And not in a cute way- it looks a little awkward. I even checked the pattern pieces to make sure I hadn’t sewn them backwards but I did sew them correctly. I must have made some sort of mistake though because I’ve searched other bloggers who made these shorts and none have mentioned this problem. I’m also really sensistive when it comes to seams touching my skin and I feel like the inseam is a little bulky and bothers me. I’ve had this problem when I’ve made the maritime shorts in a heavier fabric so it must just be me. The fit across the bum and hips is pretty perfect though so next time I make them, I think I just need to grade more of the seam allowance out of the inseam and stitch it down to keep it from bothering me. I’m trying to decide if I need to lengthen the crotch just a bit too. I will also raise the waistband just a teeny bit as I like my shorts to sit just a bit higher on my waist- after two babies, I’m not such a fan of low riders. lol.

But considering I didn’t make a muslin, this is a pretty successful finish. Just a few tweaks to make next time and I’ll have perfectly fitting pajamas. And these will still get plenty of wear. In fact, I’m still wearing them today. 🙂 Who wants to change into real clothes when you have cute pajamas?
Disclaimer: Art Gallery Fabrics provided the fabric for this post as part of their September AGF Sewing Month but I purchased the pattern and all opinions are, as always, my own. 🙂

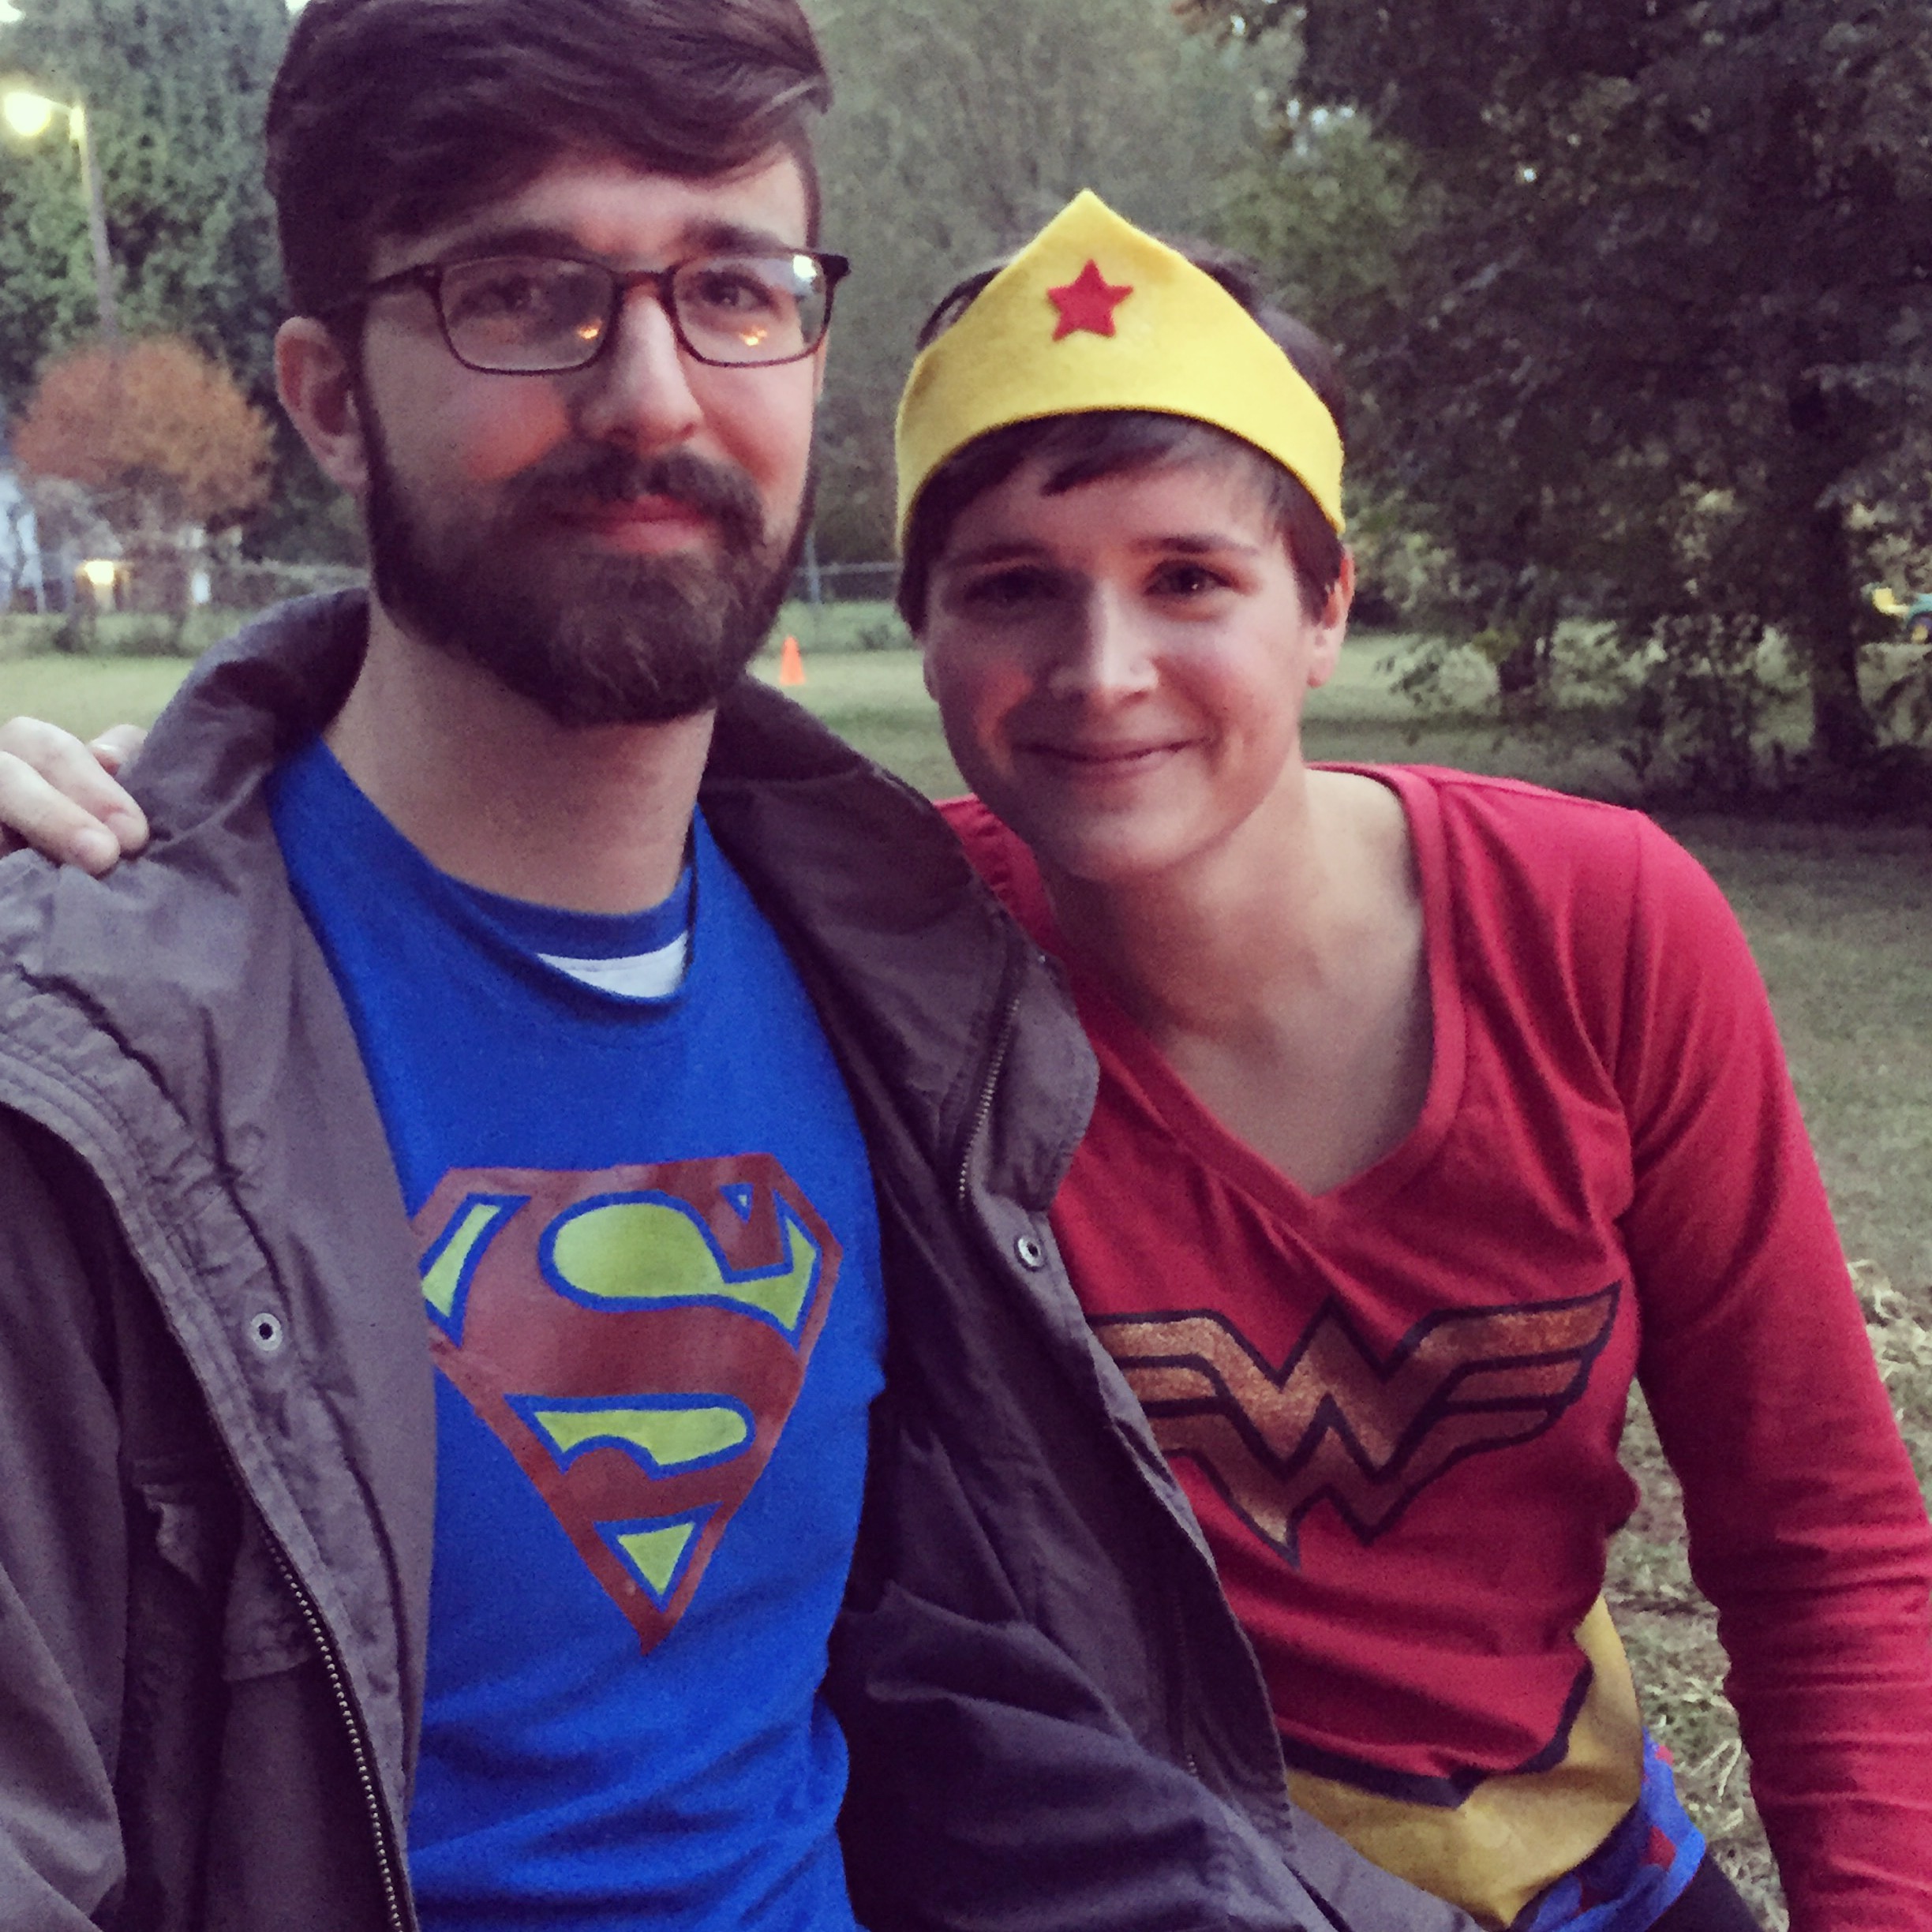
 Head over here to read all about it and see a few more baby bump shots. 🙂
")
")
")
")

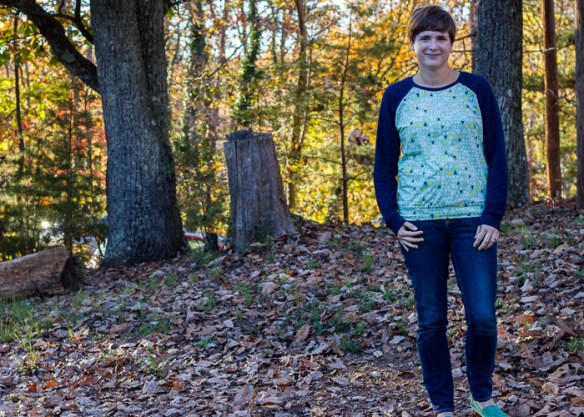 I bought several different Leah Duncan knits from
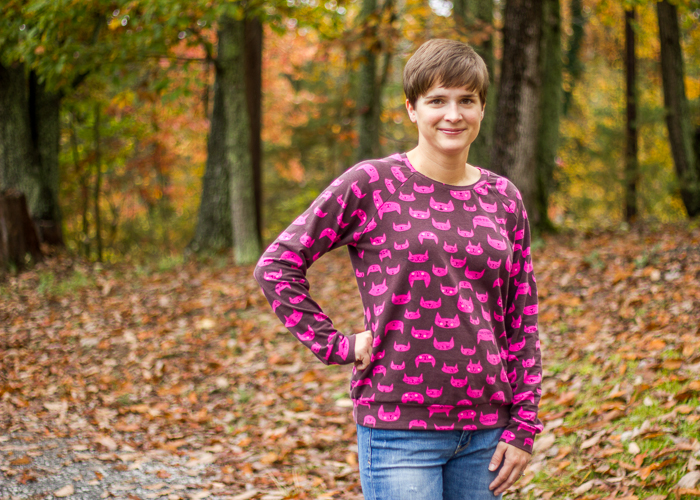
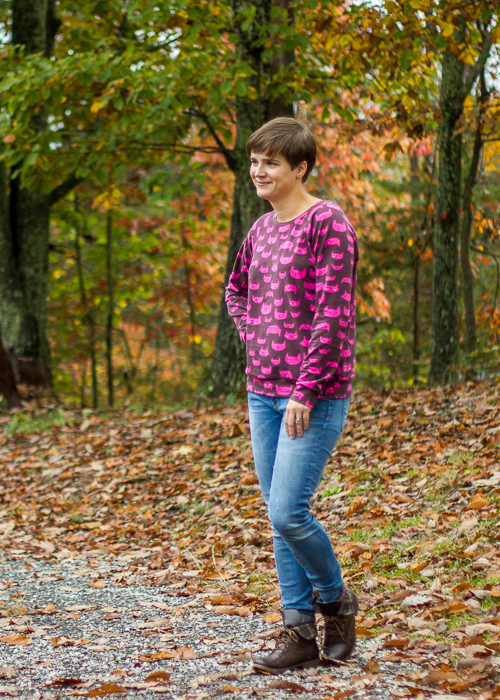
  I just so happened to have the perfect navy laguna knit in my stash to coordinate- justifying my stockpile immensely 😉 , and so I used that for the sleeves and neck binding. I made the size 6 per usual. I did make one mistake that kinda bums me out. I forgot to add the 1/2″ length to the bottom like I did with the previous version. So it still fits fine but that extra bit of length takes it to the perfection level. Oh well, next time I will remember! And I’ll just wear a tank top under this one so that it doesn’t bug me with pulling the hem down all the time.
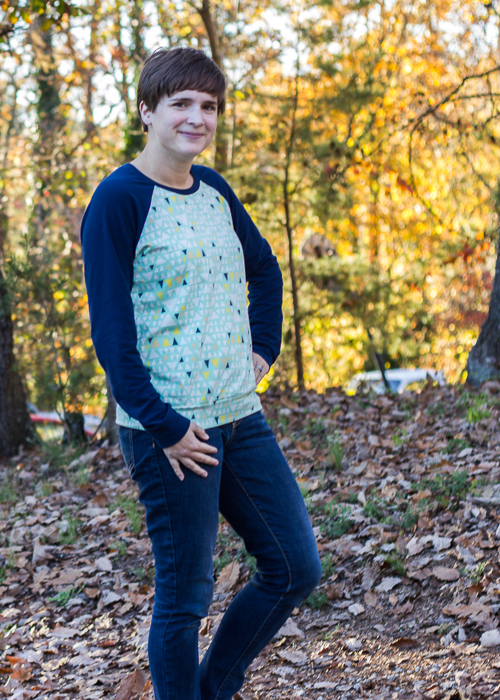


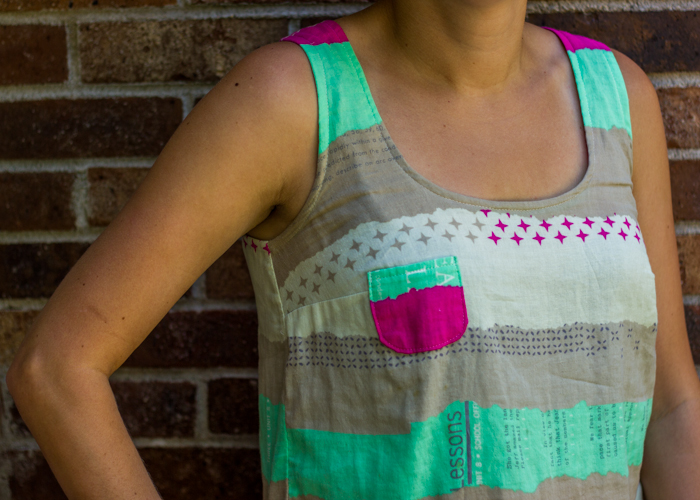
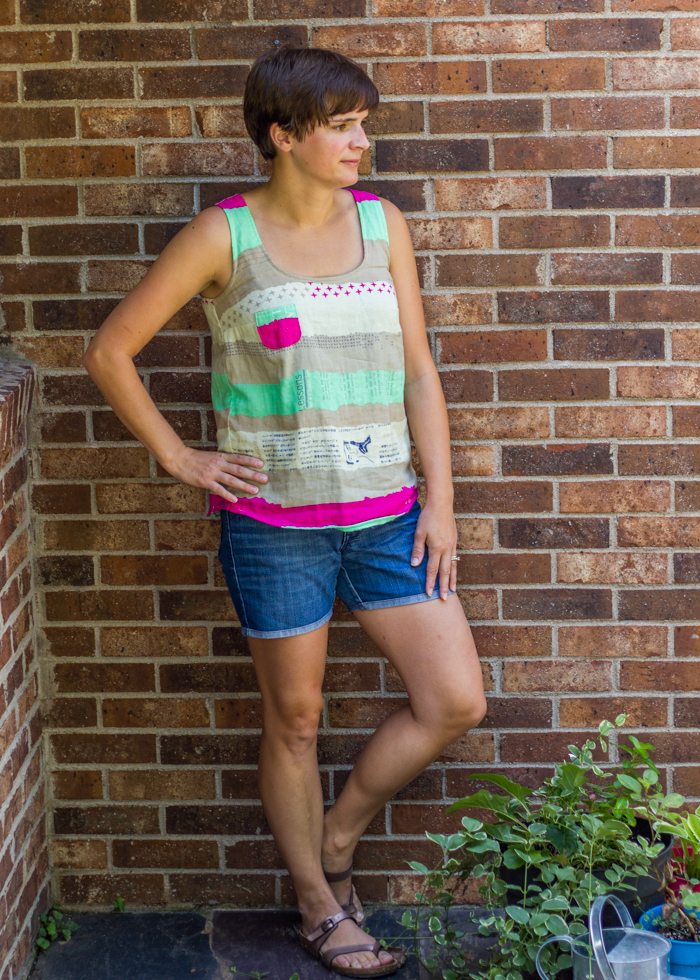
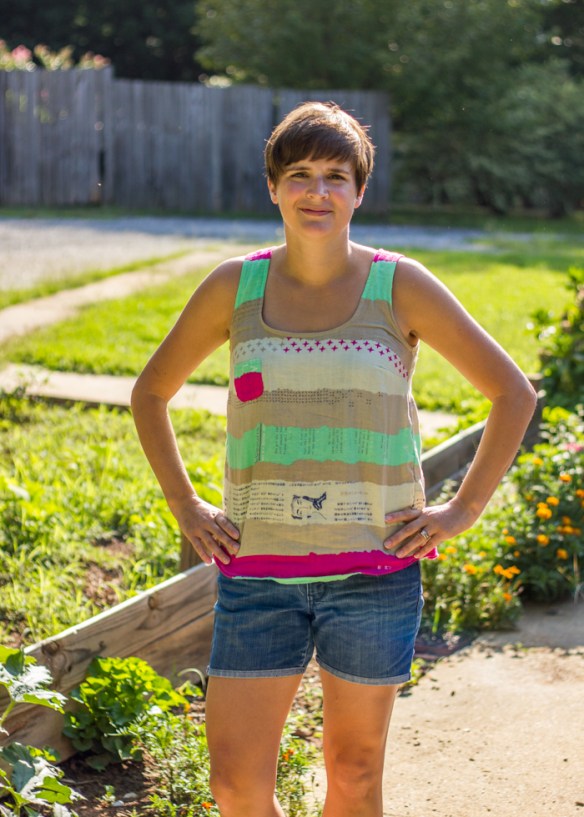 I actually made this tank at the beginning of the summer and just now got around to taking pics of it. I do so love how cool and breezy it is. I’m never 100% sure that these types of flowy shirts are flattering on me because I feel like the billowing around the waist makes me look bigger than I am, but I still like to wear them because they are so comfy. I did end up taking the sides in about 3/8″ starting right below the bust to the hem to take a bit of the width off. Basically I have an 8 in the top and grade it down to between a 4/6 in the hips.