A Bianca Dress for Easter


double gauze bianca dressWell, it’s done folks. My lovely Bianca dress is all finished and oh so beautiful! I think it’s my favorite handmade item so far. Part of that has to do with this great pattern from Rae and the other part of it is due to this amazing fabric- double gauze from miss matatabi fabrics in Japan. I have seen fellow bloggers use double gauze for a while and wanted to try it, but the price tag has always deterred me. Enter one middle-of-the-night nursing session with Eliot, an awesome sale posted on IG, sleep deprivation, and I just HAD to buy some of this fabric. The next morning I had a bit of a scare wondering what I had bought in the middle of the night and put myself on restriction from etsy browsing during night-time feedings. But it was worth it when I got this lovely fabric in the mail. And really, the sale price was so good that even with shipping from Japan, this dress (not including lining) only cost me $27! Not bad for a custom-made Easter dress, I’d say.

double gauze bianca dress

Only problem now is that I want to buy all the double gauze! It is so heavenly to wear. Okay enough rambling about fabric purchases; on to the dress details…

double gauze bianca dress

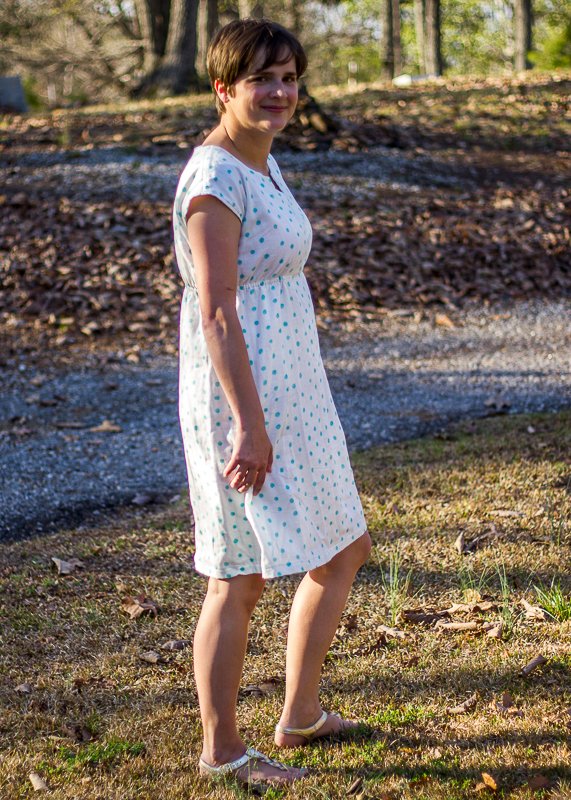
Pattern: Upcoming Bianca Dress/Top from Made by Rae

Pattern Mods:

  • Followed directions to lower front facing 7/8″ based on my measurements (very important to check because it totally changes the fit!)
  • Added 4 inches to original length (what I believe would be 2 inches to the final version of the pattern) to make it knee length.
  • Added a white batiste lining: Now let me pause here for just a moment. I added a lining after the fact when I realized my double gauze was completely see-through (oops). The lining would have been fairly easy to add if I had done it while I was making the dress, but it was kind of a pain to do after the fact. I attached the skirt and bodice separately. The skirt is just a rectangle sewn down one side to make a tube, serged at the top and bottom hems, and then hand-sewn to the elastic casing. Bodice is machine-stitched at shoulder and arms seams but hand-stitched on all other seams- i.e. lots of hand stitching! It’s not the best stitching job (and that’s putting it nicely), but you can’t see it once the dress is on, and I figure this will be a hand-wash only dress so I don’t need to worry about the lining fraying or coming apart in the wash. For future reference though- check your garment for opacity before construction!

Fabric: As previously mentioned, Nano Iro double gauze from the Miss Matatabi etsy shop. (FYI I managed to squeak it out of 2 yards of fabric even with the added length)

double gauze bianca dress

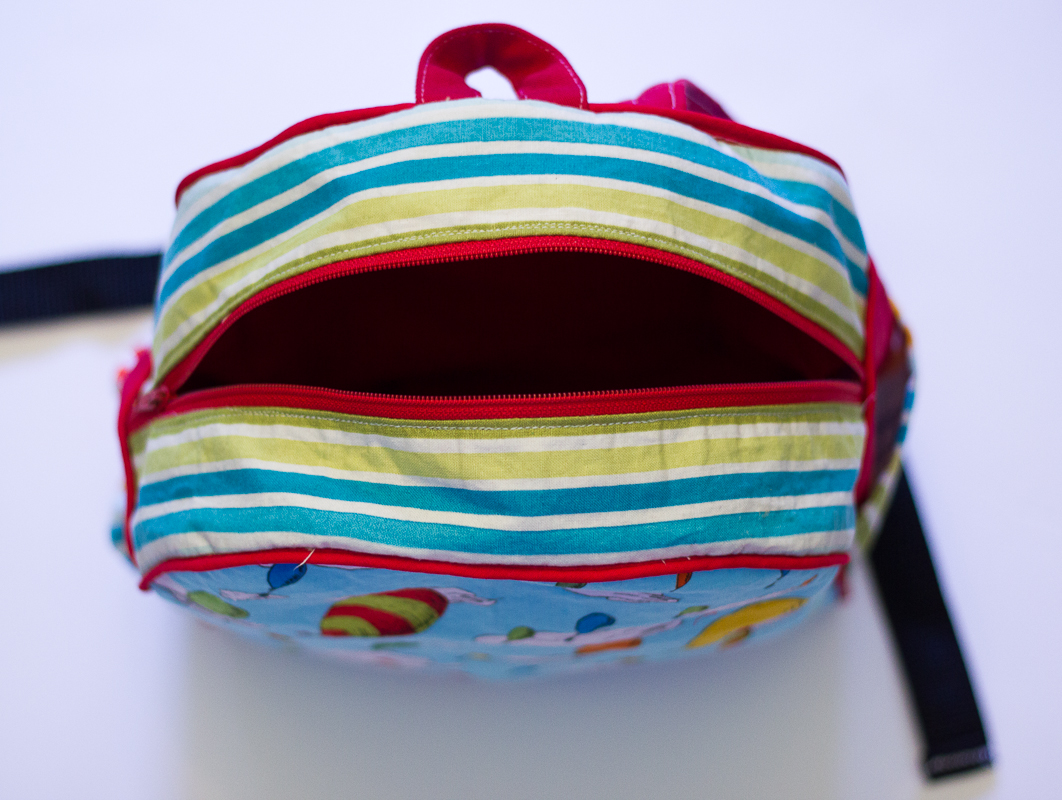
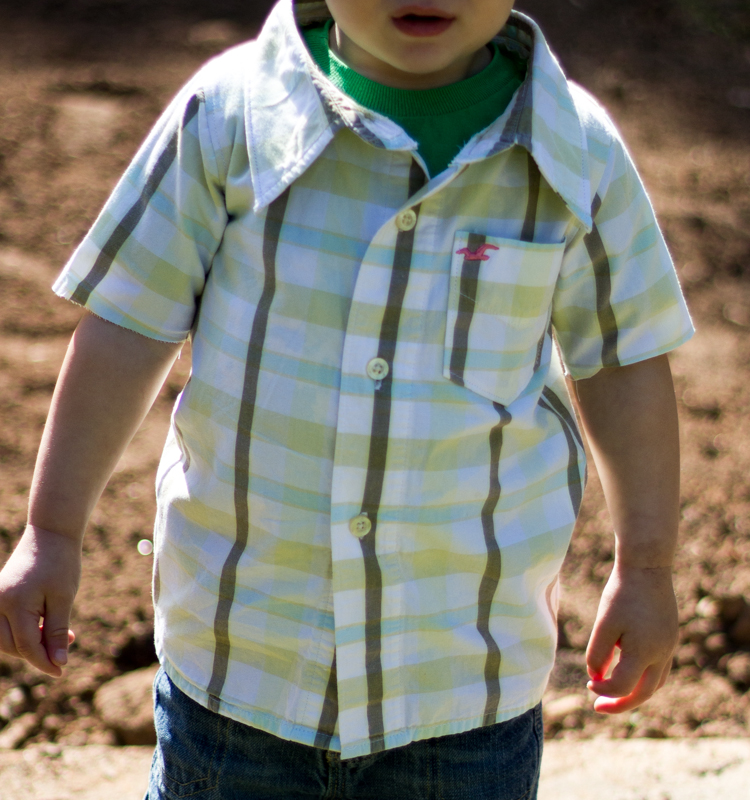
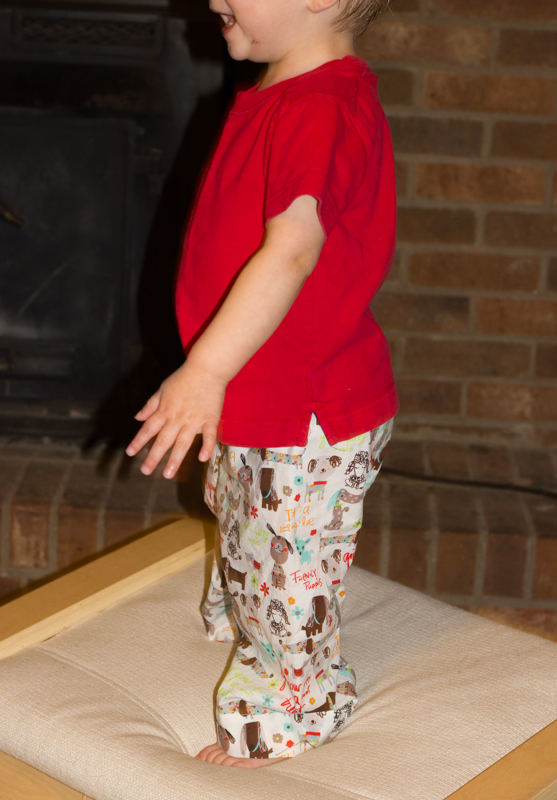
Now that’s enough selfish sewing. I’m tired of editing pictures of myself- gets a bit awkward after a while. Plus, I have a lofty goal that all 4 of us will be in something handmade for Easter, so next week it’s KCW and clothes for the boys and then after that another Negroni shirt for the husband- fingers crossed for good naps and productive sewing!

double gauze bianca dress


Bianca Top

bianca top

This past week I was able to test an upcoming Made-By-Rae pattern- the Bianca. You guys, I may sound like a broken record sometimes, but this Rae, she really knows her stuff. I really, really love this top. In fact I love it so much that I cut into my hoarded double gauze to make myself an Easter dress version of this pattern. It has some really nice customization options to make it the most flattering fit on every body style. The pattern was set to be released very soon, but Rae’s adorable little baby boy made an early appearance so she’s busy snuggling up a little newborn, and I’m not too sure what the release date is now. I’m sure it won’t be too long; she has a great team that is continuing to keep things running. I will update this post and let y’all know when you can go and get it! In the meantime have a look at mine and enjoy brainstorming what fabric you could use for this. I think it’s the perfect style for a comfy summer dress… and that makes me long for summer and warm weather to finally be here! The calendar says it’s officially spring, but we’ve had some pretty cold, nasty days this week.

bianca top

If you recognize the fabric used in this top, it’s because I got a bolt of this Joel Dewberry voile on clearance a while back so I use it for all of my samples and testing before I cut into the good stuff. I now have about 4 tops that use this fabric in some way. I’m not sure what I’ll use for testing when my bolt is gone! Oh and I have a bit of bragging to do. My mom and sister came over when I had this top on for picture-taking, and they both commented on how cute it was. That’s pretty high praise because they’re not so much into the whole sewing-thing. They’d rather buy something at the store than make it, so I do a little happy dance when they think something I made looks like it could come from the store (but better because it’s perfectly adjusted to my measurements!). I can’t wait to see everyone else’s version of this top/dress once the pattern is released!

bianca top

Ruby Top #2

I have a fun selfish sewing project finish to show you today! This top was started back in the fall and then shelved when I got so busy with Christmas orders and presents. The first of the year, I was really wanting a quick and easy project to finish for myself and pulled this semi-completed shirt out of the works-in-progress bin. About an hour later and I had myself a new top!

ruby top

The bottom fabric is from Jeni Baker’s Color Me Retro line for Art Gallery Fabrics. It’s quilting cotton but Art Gallery fabrics are a lighter weight quilting cotton so it works for this pattern. I have loved this fabric ever since it came out and finally snatched this up during a fabric sale (I can’t remember where). Top fabric is a Robert Kaufman linen.

ruby top

The pattern is Rae’s Ruby Dress/Top and it’s my second Ruby top. This is such a fun pattern to mix and match prints and solids. And it’s also a quick and easy sew- perfect for beginners. Really the thing that takes the longest is binding the sleeves and neck. The actual construction of the top takes like 30 minutes. I love how I can layer this top underneath a sweater right now and then wear it alone later when the weather warms up.

ruby top

Ruby Top

ruby top

I recently had the opportunity to test a pattern for the amazing Rae from Made-By-Rae. I made the dress version for testing but chopped it off into the top later. Dresses are just not practical for this nursing mama right now.

ruby top

I love how this top turned out! In fact I’ve been wearing it and my Tiny Pocket Tank almost non-stop this last week. I really need to make a few more of these tops. I chose the size M, even though my bust measurements indicated I was a L. Because of this, it’s a teensy bit small across the bust/shoulders area- you can see a bit of the pulling in the pictures. However, in my current stage of life I like to make things a little small so that they will continue to fit as my body shrinks back to its normal size.

I have it on good authority the pattern will be released any day now and I highly recommend you try it out! It’s the perfect pattern for the beginner seamstress because it is not complicated and results in a super cute garment. Rae is well-known for her well-written patterns, and this one does not disappoint!

ruby top

I love seeing everyone’s different combinations of fabrics in the Flickr group and already have several ideas in mind for my next one! I used a voile for the top and shot cotton for the bottom. One note about the shot cotton- I actually ironed this shirt for the photo shoot (my mother would faint at this news 🙂 ), and it still looks wrinkled, but I’m ok with that since I’m a wrinkle embracer myself. 🙂

ruby top

Dr. Seuss Toddler Backpack

Checking back in here again to let you know I am still alive and baby is still happily swimming around his little cocoon. 🙂 39 weeks tomorrow and trying to relax and not anticipate his arrival any second…soo hard to do!

Dr Suess backpack

Dr Suess backpack

Well I hadn’t sewed in over a week because I am just so tired at nap-times that I take naps myself. My poor Bernina was looking so sad and neglected I just had to give her some attention yesterday! A few weeks back I had started a toddler backpack for Oliver using Rae’s pattern and some Dr. Seuss fabric I have been saving for just the right project. I got the outer backpack all finished and there it has been sitting waiting for a lining. Really happy I got to finish it yesterday because Oliver’s old backpack (also Dr. Suess 🙂 ) was a cheap nylon bag, and it is all but in shreds so he really needed a new one.

Dr Suess backpack

Thoughts on the pattern and construction:

I used Craft Fuse 808 to interface all the exterior pieces because they are quilting cotton weight. The lining is a medium weight twill fabric. I was worried it wouldn’t be sturdy enough but am happy to report that the interfacing and heavier weight lining combined to make a great sturdy bag! Now about the bag construction itself- This bag pattern is not for the faint of heart! It has quite the involved instructions and takes a bit of time to construct. However, like all of Rae’s patterns, the instructions are well-written and easy to follow- just be prepared to take your time. I am especially impressed with how professional-looking the strap turned out!

Dr Suess backpack Dr Suess backpack

I got to use some of my new feet for the bag construction and really liked how easy the piping foot made that section come together. I also looked through the flickr group before making my bag in order to get some ideas and decided to add pockets to each side panel. They were pretty straight-forward and easy to add except that I think the gathered one needs to be just a bit bigger in order to hold his water bottle. Oliver loves his new bag and likes to carry it around one-handed to show people…kinda cool that he’s old enough to appreciate what I make for him now!

Dr Suess backpack Dr Suess backpack Dr Suess backpack

Kid’s Clothes Week Day 3: Another Flashback Tee


Day 3:

  • Finished Dress Shirt from Day 2: hemmed sleeves and finished off all side seams
  • Blue Stripe Flashback Tee completed

FST Blue Stripe

Sure hope you are not tired of seeing these flashback skinny tees because I am most definitely not tired of making them. 🙂 We have been so blessed to have quite a few clothes passed down to us from various people, but as I was going through Oliver’s summer wardrobe, he really does need some dressier tees and dress shirts so that’s what I am focusing on this KCW.

FST Blue Stripe

This blue stripe tee is one of my faves so far. It’s from an old tank top that I picked up at a thrift store a while back in order to have practice knits. It’s a nice thick jersey material but super stretchy, so it definitely was the hardest knit I’ve worked with yet. I had barely enough fabric to make this tee…had to do some creative layout and cutting to get my shirt.

FST Blue Stripe

Thankfully I was able to use the existing hem for the bottom of the shirt and only had to hem the sleeves. Also because this is super stretchy, I could use the fabric itself for the neck binding, and it fits over Oliver’s head! I was debating on adding a pocket to the tee but as I was cutting the pocket out, nap time ended so I decided that was my sign to be done with the tee. 🙂 Tomorrow my goal is to attempt a polo refashion. Wish me luck!

FST Blue Stripe

FST Blue Stripe

Kid’s Clothes Week: Days 1&2- Flashback Skinny Tees and Quick Change Trousers


Day 1:

ashback Skinny Tee- Yellow

I got so much done today and am quite proud of myself! I could not believe how quickly the flashback skinny tee whipped up! It helped that in my last sewing machine mastery class (for my amazing Bernina! 🙂 ) they taught us how to sew with knits- which stitches to use and how to adjust the presser foot tension. That made the tee an easy project. Based on Oliver’s measurements, I made him the 24 month size (adding 1 inch in length) to begin with, but I didn’t want to make any more until he tried it on for fit. I used the existing hem for the sleeve which made it an even quicker sew!

ashback Skinny Tee- Yellow ashback Skinny Tee- Yellow Flashback Skinny Tee- Yellow

Since that project went super fast, I still had time before nap time was over, and I sewed up a pair of quick change trousers for baby bro. The red side matches with Oliver’s tuxedo parsley pants, and I hope that I get a chance to have the boys wear the pants together because I think that would be super cute. 🙂 The other side is just a fun multi-colored stripe that I have been eyeing as pants for Oliver but thought they might be a bit too crazy.Thankfully you can get away with a bit more on a little baby! I made the size 0-3 months, but I didn’t have quite enough red denim left so they are a bit short. I just won’t roll up the cuff and I think they’ll be fine.

The 24 month tee ended up *just* fitting Oliver (really too small for his head but we made it work) so I knew I would need to make the 2T size if I want the shirts to last more than just a few weeks. He got to bed pretty early last night, and I couldn’t stop thinking about finishing the shirts, so I went ahead and made the 2T size last night… this pattern is addicting! I figured out how to salvage and reuse the existing neck ribbing because I only have gray ribbing, and I have discovered that if I don’t use ribbing, the neck openings are too small to fit over Oliver’s head. Happy to report that the 2T fits great! And I can’t believe how professional this shirt looks! Yay me 🙂 . Oh I must explain one thing, these are my hubby’s old shirts, and he loves them dearly. I find the green shirt to be a bit disturbing (especially on my 2 year old), but I needed something that I didn’t care about that much to check fit with and it makes hubby happy to give new life to his old shirts, so I guess everyone wins… just no one in blogosphere freak out that I’m encouraging my son to go after animals…he’s quite in love with animals actually. 🙂

ashback Skinny Tee- Green ashback Skinny Tee- Green ashback Skinny Tee- Green

Day 2:

Upcycled Dress Shirt- FST

Oliver is in major need of some dressier shirts so I thought I would see about remixing the flashback tee into a button down shirt. I really had no idea what I was doing, but since I was using one of Ian’s old shirts, I figured I had nothing to lose. I also used Oliver’s short sleeve dress shirt as a general guide to how this shirt needed to come together. I added about 1.5″ to the shirt width on the 2T size FST. It was so cool to use the existing hem and button placket and see the shirt come together. I even seam-ripped the old pocket and cut it down to size.

Upcycled Dress Shirt- FST

The only tricky part of this shirt was the collar, and up until I did it, I really had no idea what I was going to do. I cut off the entire collar section from the old shirt, sewed it onto the new shirt, and then folded and sewed the actual collar down to make it a bit smaller. It works, but I kinda forgot that you can see the seams on the shirt inside when the collar isn’t buttoned and they are a bit messy there. I’ll have to figure out something else when I try this again. On a side note, all my other seams look great because I finished them off nicely! Oh and I thought the collar would be too big, but for some reason the toddler neck size was the same as the adult neck size…hmmm.

Upcycled Dress Shirt- FST

I waited to finish off the sleeve hem until he tried it on after naptime so you’re seeing the shirt without a sleeve hem but with everything else finished. We are doing really low-key photo shoots this week since most of my time will be spent sewing and I (hopefully) will have lots of finished projects to report to you. I was also pretty happy that this shirt only took me about 90 min from start to finish. I’m pretty sure I will be even faster the next time. Let me tell you, I breathed a huge sigh of relief when Oliver tried the shirt on and it fit! The shoulders are a teensy bit tight but everything else is perfect with a bit of room to grow! Now I’m on to scour through Ian’s clothes and see what else I can re-purpose. This gets addicting, I tell you. 🙂

Upcycled Dress Shirt- FST

Parsley Pants Take 1: the Pajama Version

UPDATE: Pattern is now available here!

Well after that sneak peek on Friday, I am back with more information on these great pants. I thought it would be fun to share them with you one at a time over the next few days. Wait, that means I made more than one pair of pants last week? Oh yes, peeps, I made a total of THREE pairs of pants for the little man! Is he spoiled or what? 🙂 Not only did I want to do a good job as a pattern tester by trying out all the different variations of this pattern, but I must say that once I got started, I just couldn’t stop because I was having too much fun making cool pants!

Pre-hemming picture… we are really into driving cars all over the furniture right now.

As I mentioned last week, I got the opportunity to be a pattern tester for Rae’s new pants pattern: The Parsley Pants. I have been eying all the cool pants Rae has made recently (specifically during her Celebrate the Boy series), and anxiously awaiting the promised release of a basic pants pattern. So when she contacted me to see if I would be interested in testing the pattern for her, of course I jumped at the chance.

parsley pants- pajamas

This first pair that I made is just the basic, elastic waist pant version of the pant. I figured I would make Oliver some jammie pants, and that way, if the measurements were way off, I wouldn’t have wasted some of my nice fabric on the pants. Let me tell you, this version is FAST! I was taking more care than usual to be exact since I’m testing the pattern measurements and even with that, these just flew together. This pants pattern only has one piece for each leg, unlike many patterns that have two pieces for each leg. That makes the construction really quick and easy. Also let me throw in a word of praise for Rae’s instructions. She offers hints throughout the pattern to help you get through possible trouble spots.  I found that so helpful!

parsley pants- pajamas

parsley pants- pajamas

Oliver has just grown into size 2 (where this pattern begins in sizing), and he has a skinny backside so I wasn’t sure about the pants staying up. Happy to report that the waist measurements ended up being just fine- both with his cloth and disposable diapers. I did have to cut about 2 inches off the hem but considering that the size 2 runs from 33-36,” and he is only 33,” I kind of expected that. They still look a bit long in some of these pictures but that’s just because the photography model wouldn’t stop jumping and bouncing during the photo shoot. 🙂

parsley pants- pajamas

Discussion is under way about taking an inch off the bottom of this size anyway because it is ending up a little long on several other tester versions. Another item under discussion is taking a bit of width off the pants because they are a bit baggy. I believe that the finished decision was to take .5″ off at the center of each pant leg to made them a bit slimmer, yet not have them be too slim for all of the options given. Whatever ends up happening, let me tell you that you will want to get this pattern as soon as it becomes available- which I believe will happen either this week or next week. I will be sure to let you know when it is available, and I will be back later to show you my other two versions…each one gets better so you won’t want to miss them. 🙂

Couldn't resist this picture! He is in love with the doggies on his pants and wants to wear them all day! Makes this mama quite happy when her clothes are appreciated so much :)

Couldn’t resist this picture! He is in love with the doggies on his pants and wants to wear them all day! Makes this mama quite happy when her clothes are appreciated so much 🙂