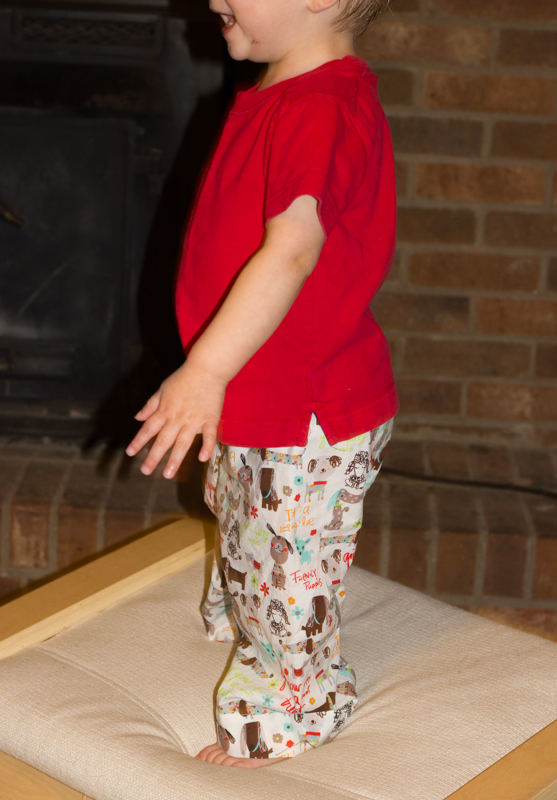
To kick off Kid’s Clothes Week, I am presenting the third (and my personal favorite) version I made of the parsley pants (Update: Pattern is now available!). This pair was made with some red bottomweight fabric (I think it’s denim) that I picked up a while back in mind for pants for Oliver. The third pair of parsley pants has one main modification from the other two- I took them in an inch on the tuxedo stripe line to make them more slim cut. I believe the final pattern version of this pant will be taken in 3/4 of an inch over the tester version- making them a little less straight cut than this version but not quite as baggy as the pj or linen pinstripe pants.

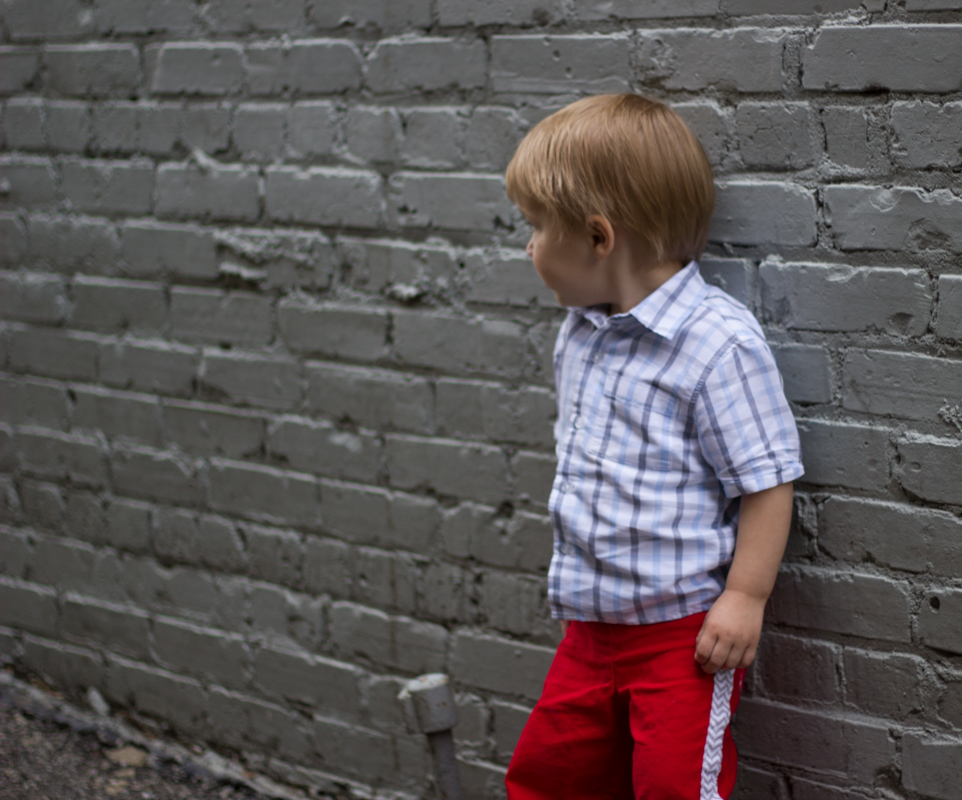
I also added a chevron tuxedo stripe down the side and some patch pockets on the back. This look was inspired by Rae’s version here. The tuxedo stripe is an option given in the pattern itself, but I improvised the patch pockets. I just think these are the cutest things ever! And the fit is superb!! I have to tell you how excited I am that this pattern has a snug enough waist to stay up, but enough room in the seat to make it fit well with both cloth and disposable diapers! I did the flat front finish with elastic backing again, and I have decided that this is my favorite finish for a more professional-looking pair of pants. The full elastic waist is great for pajamas, but the flat front looks a bit more polished for everyday wear.

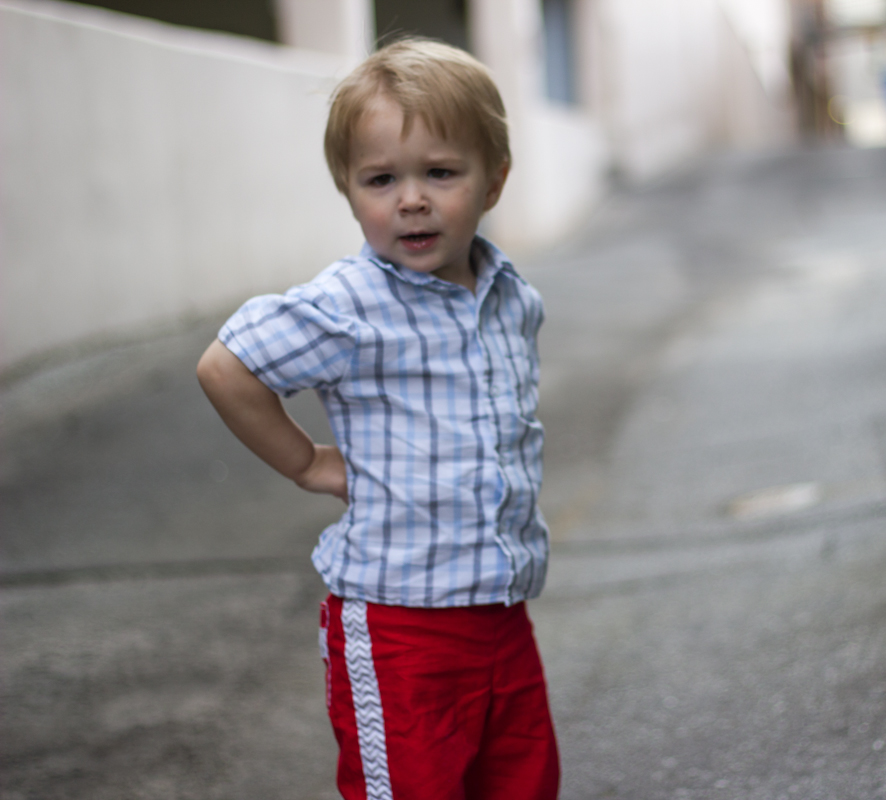
um, seriously, what is this model pose, here?
Our photoshoot got rained out so I don’t have a ton of good pictures to share with you, but I did manage to get a few. However I have to pull up a phone picture to really show off the back of these pants…

FYI, we took these pics at the same time we took pics of my maternity shirt and Oliver was copying my pose in this picture…too funny how much they notice at this age!

Now to get started on my KCW list! I bought the flashback skinny tee pattern this weekend and have a bunch of Ian’s old shirts set aside to make some tees for Oliver- hopefully some of them coordinate with his new pants! Here’s a somewhat loosely organized list of what I hope to accomplish this week… aiming high like always:)
- Flashback Skinny Tees- going to make regular tees and also attempt some dressier shirts using this pattern as a base
- Quick Change Trousers for baby from Handmade Beginnings
- Shoes for baby from Handmade Beginnings
- Oliver + S Sailboat shirt and pants (if time)