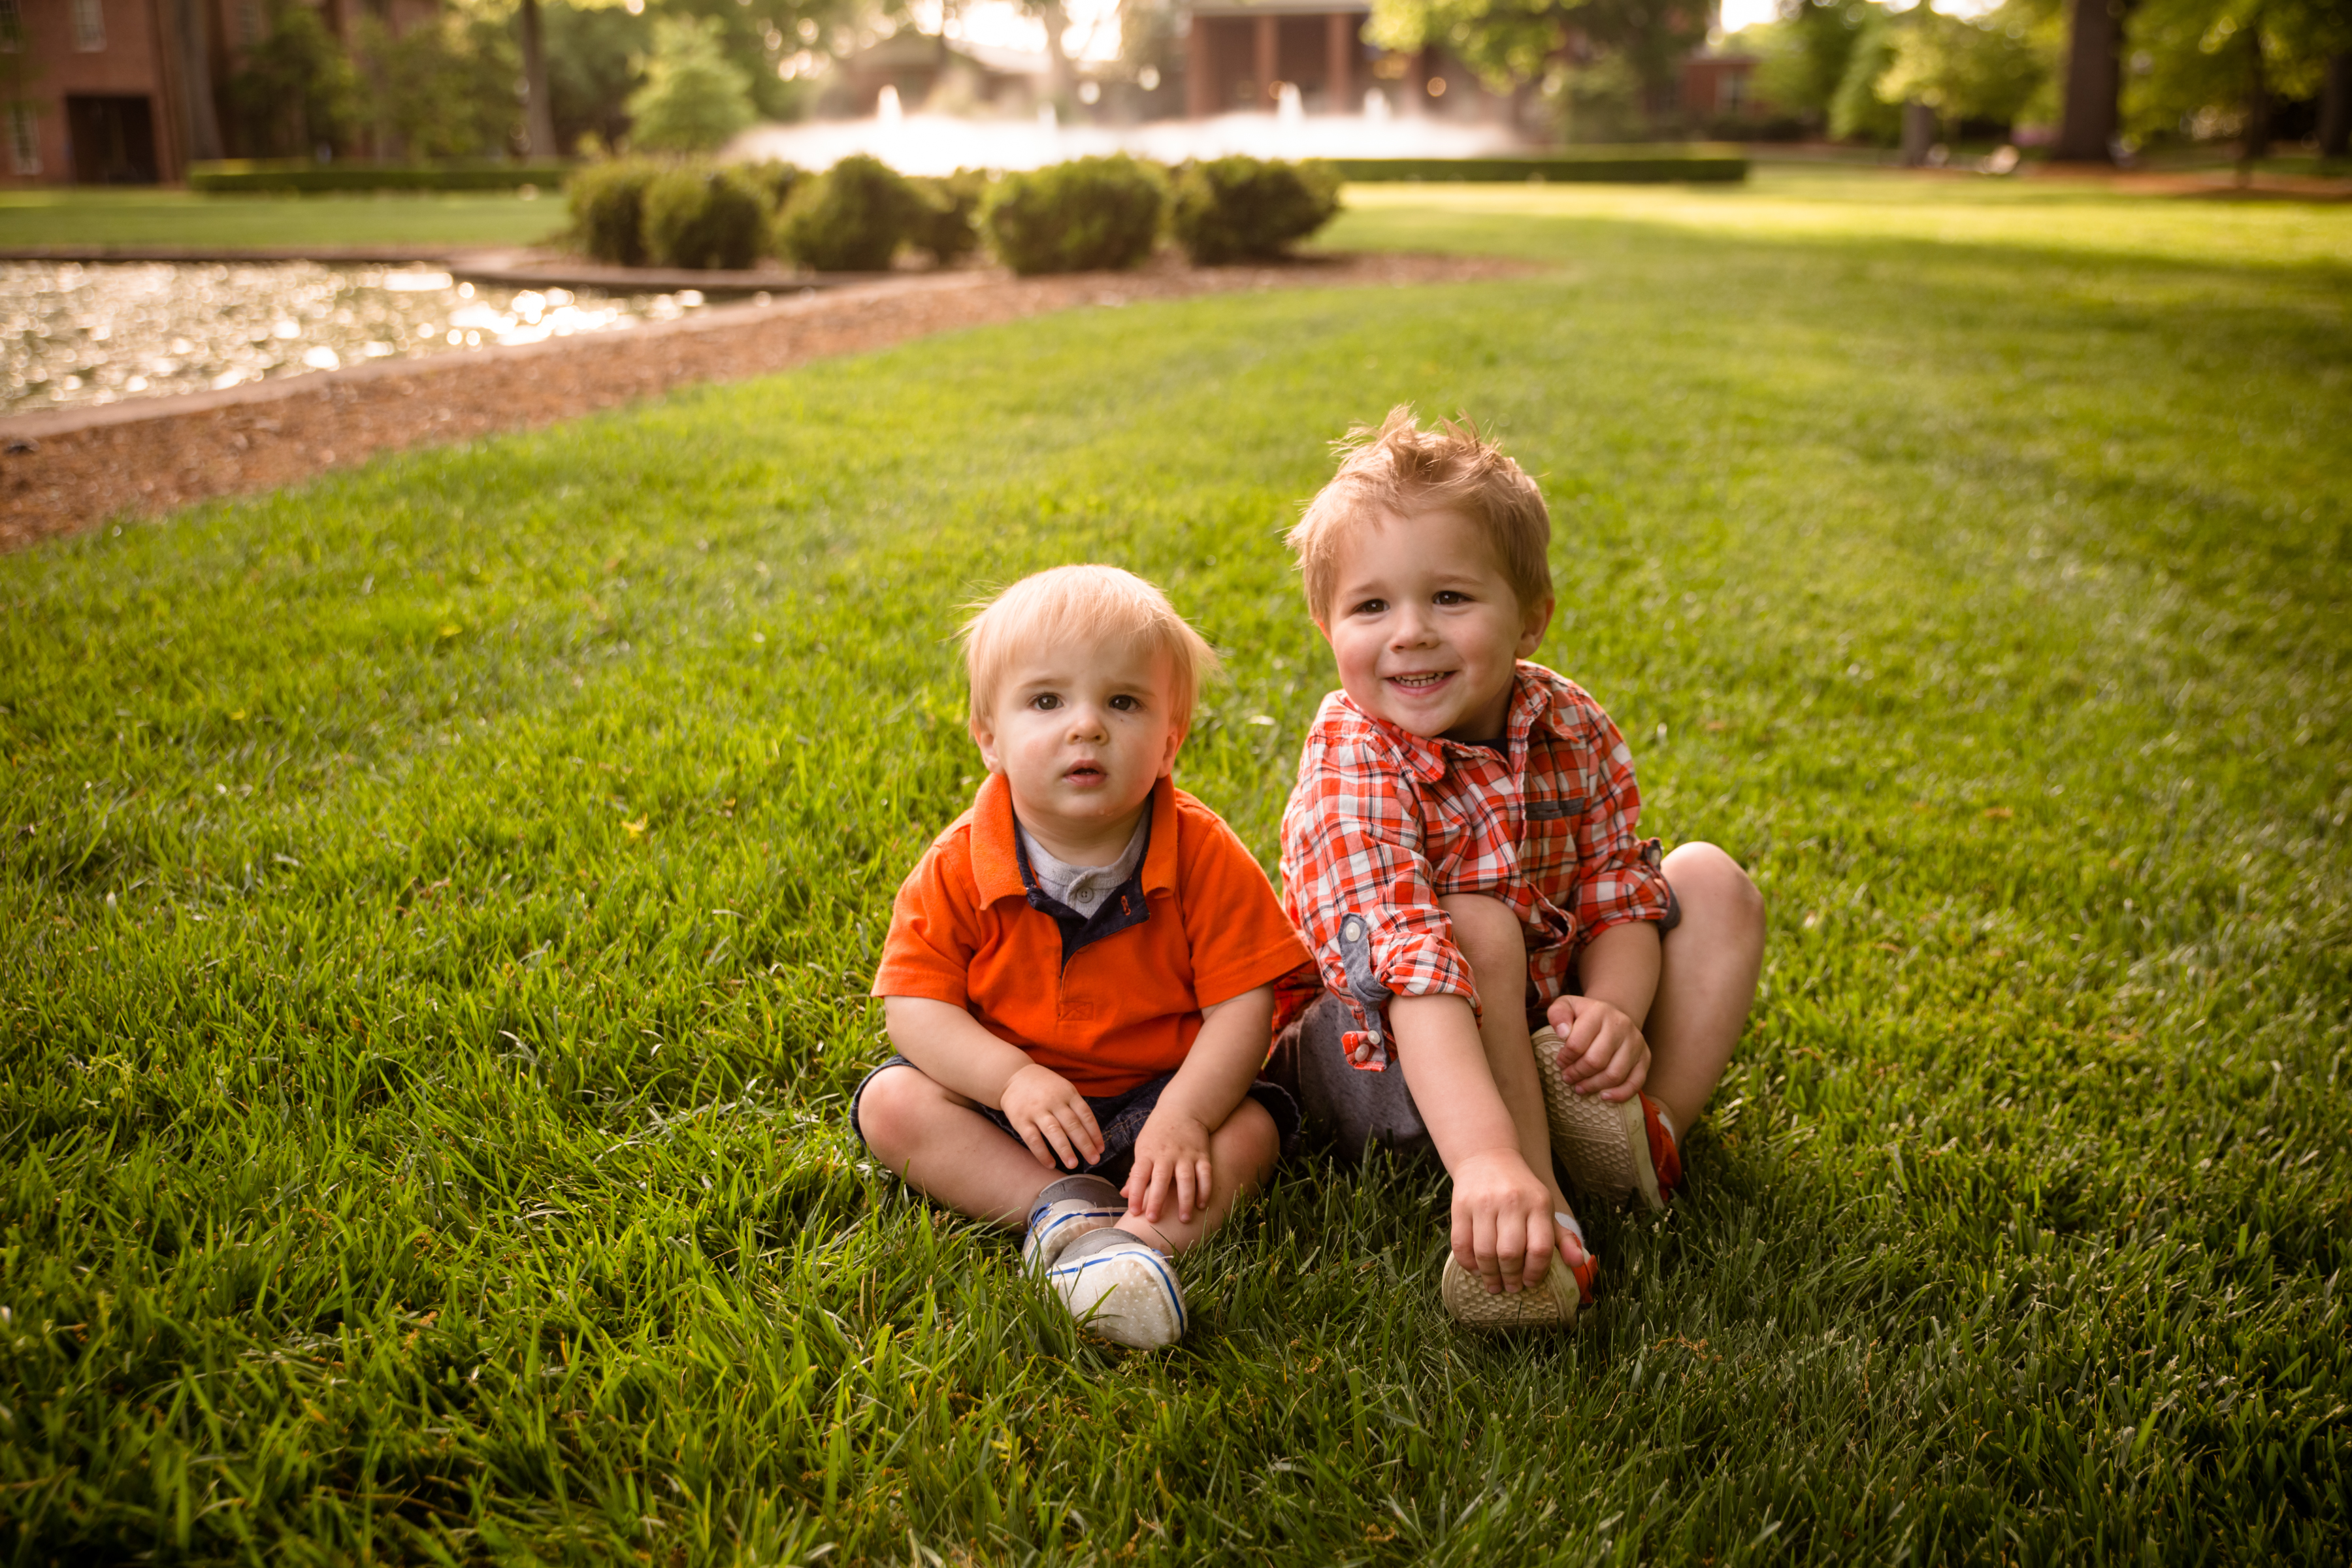
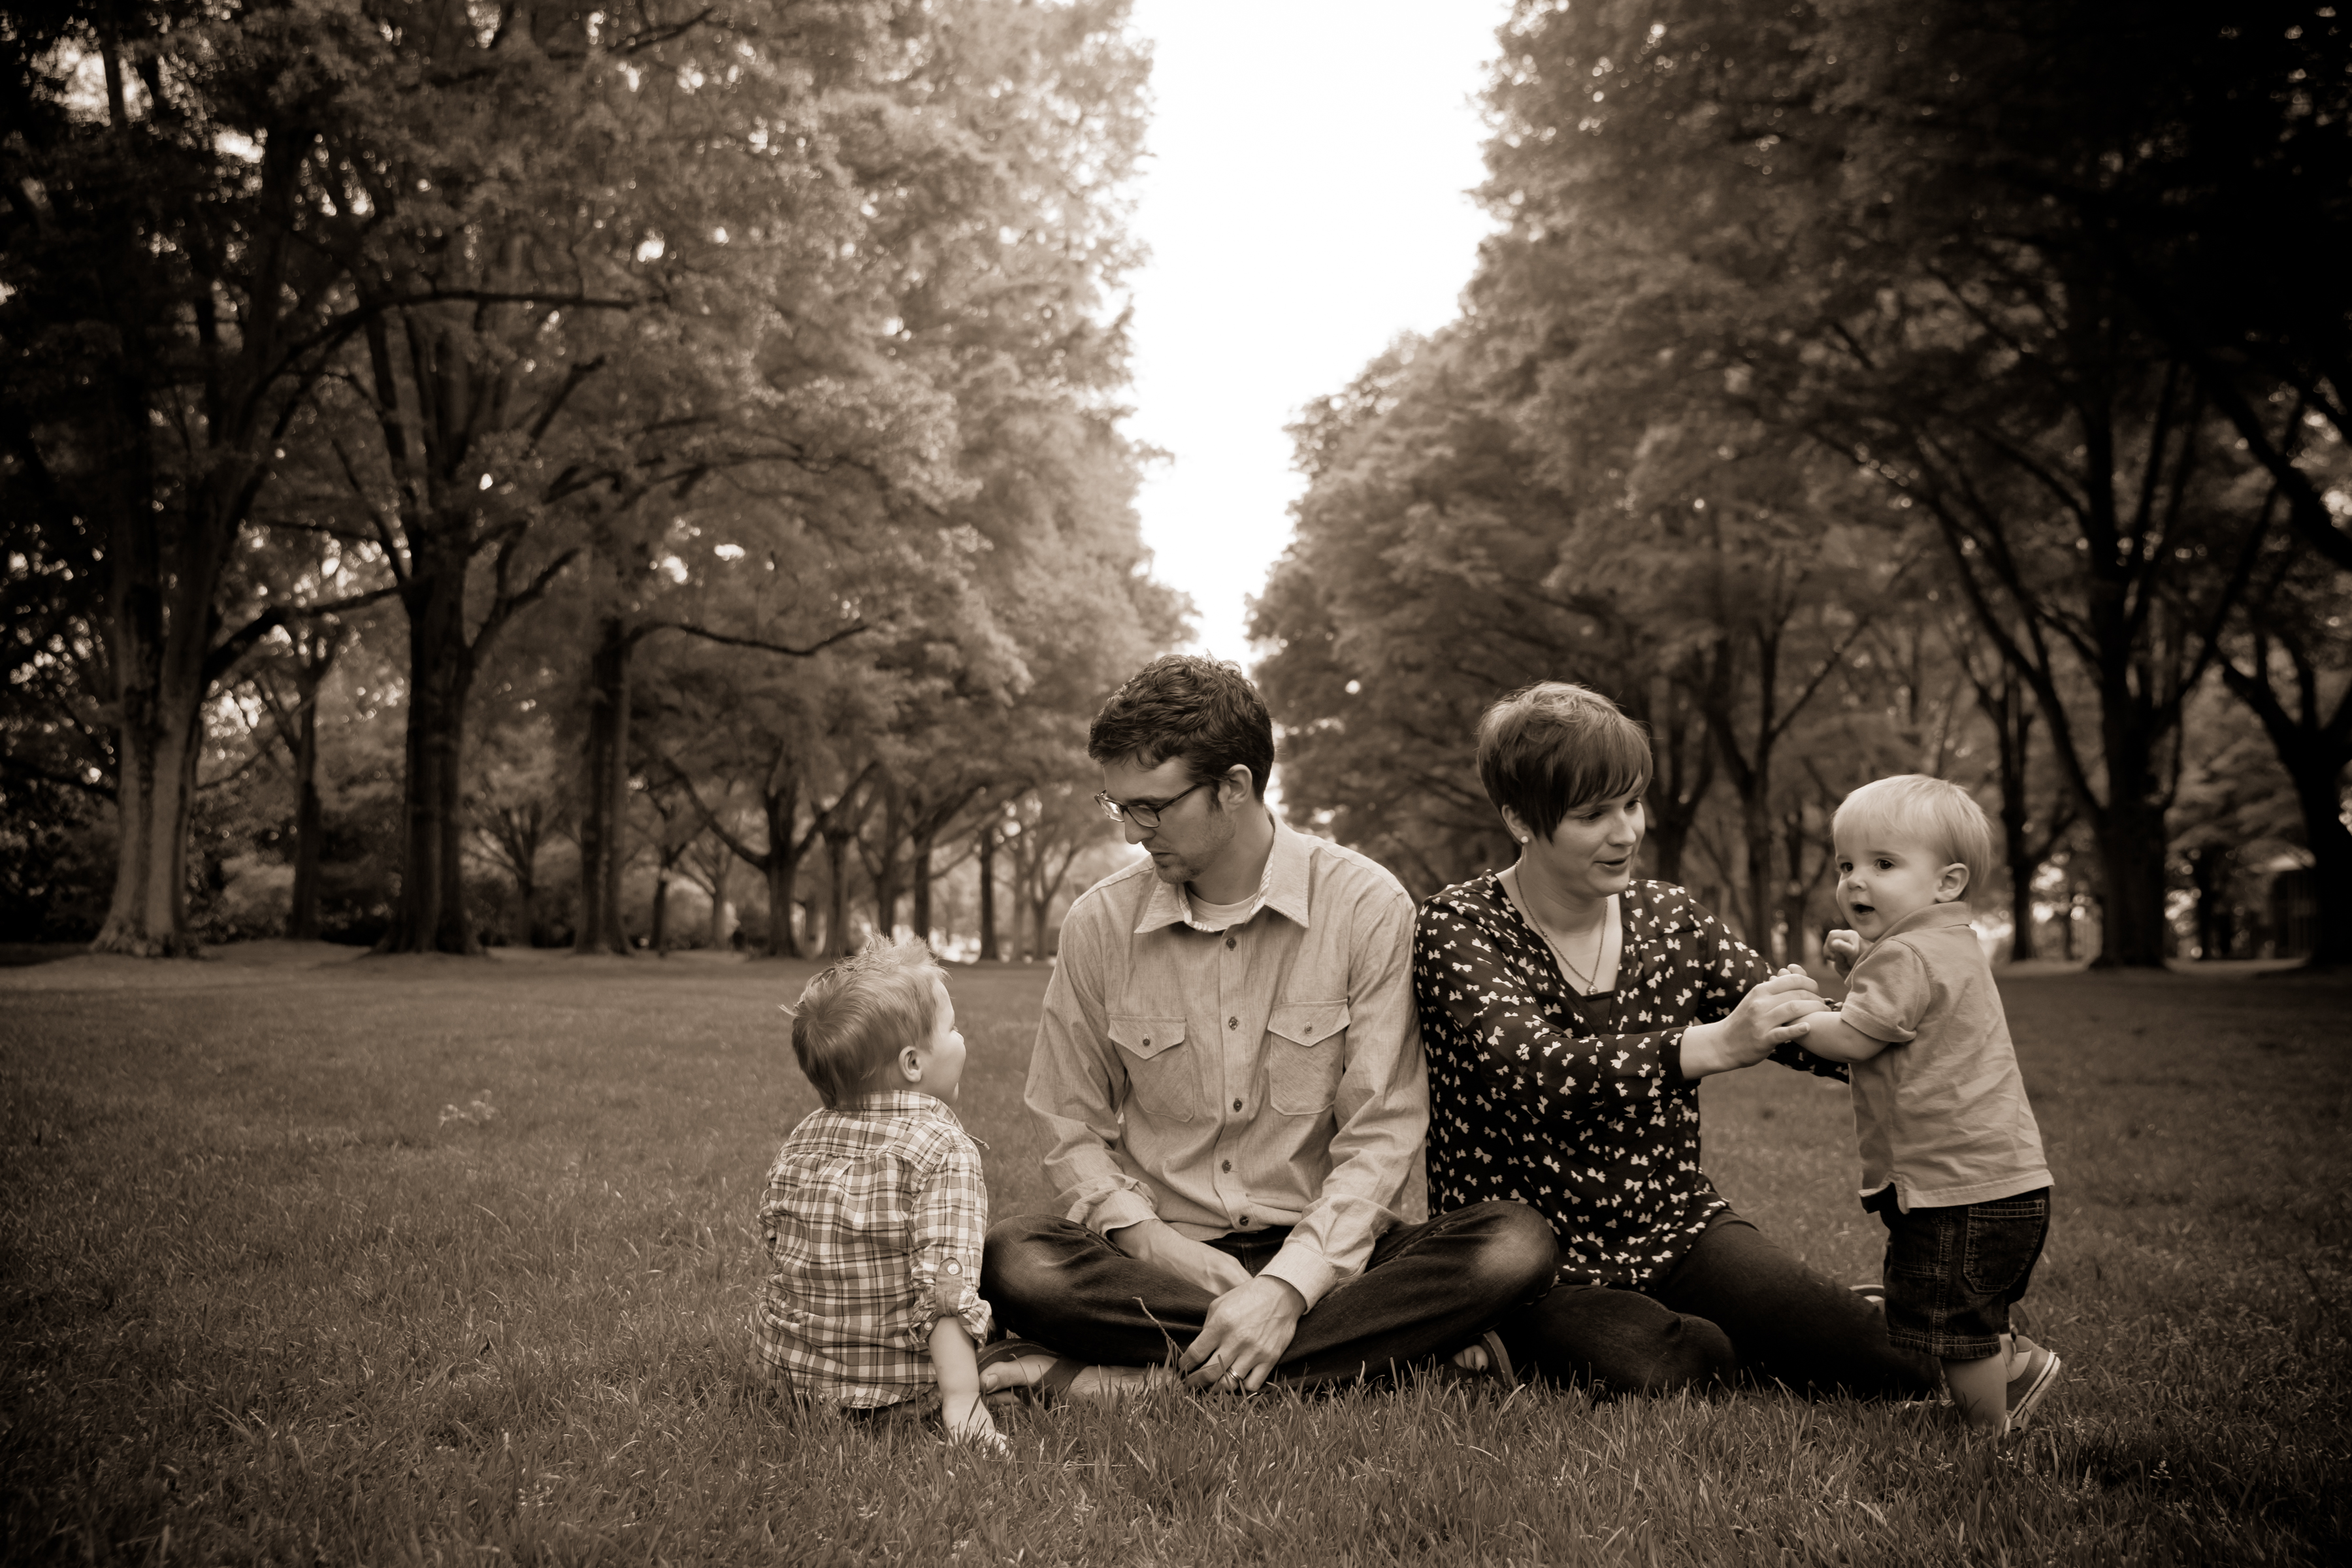
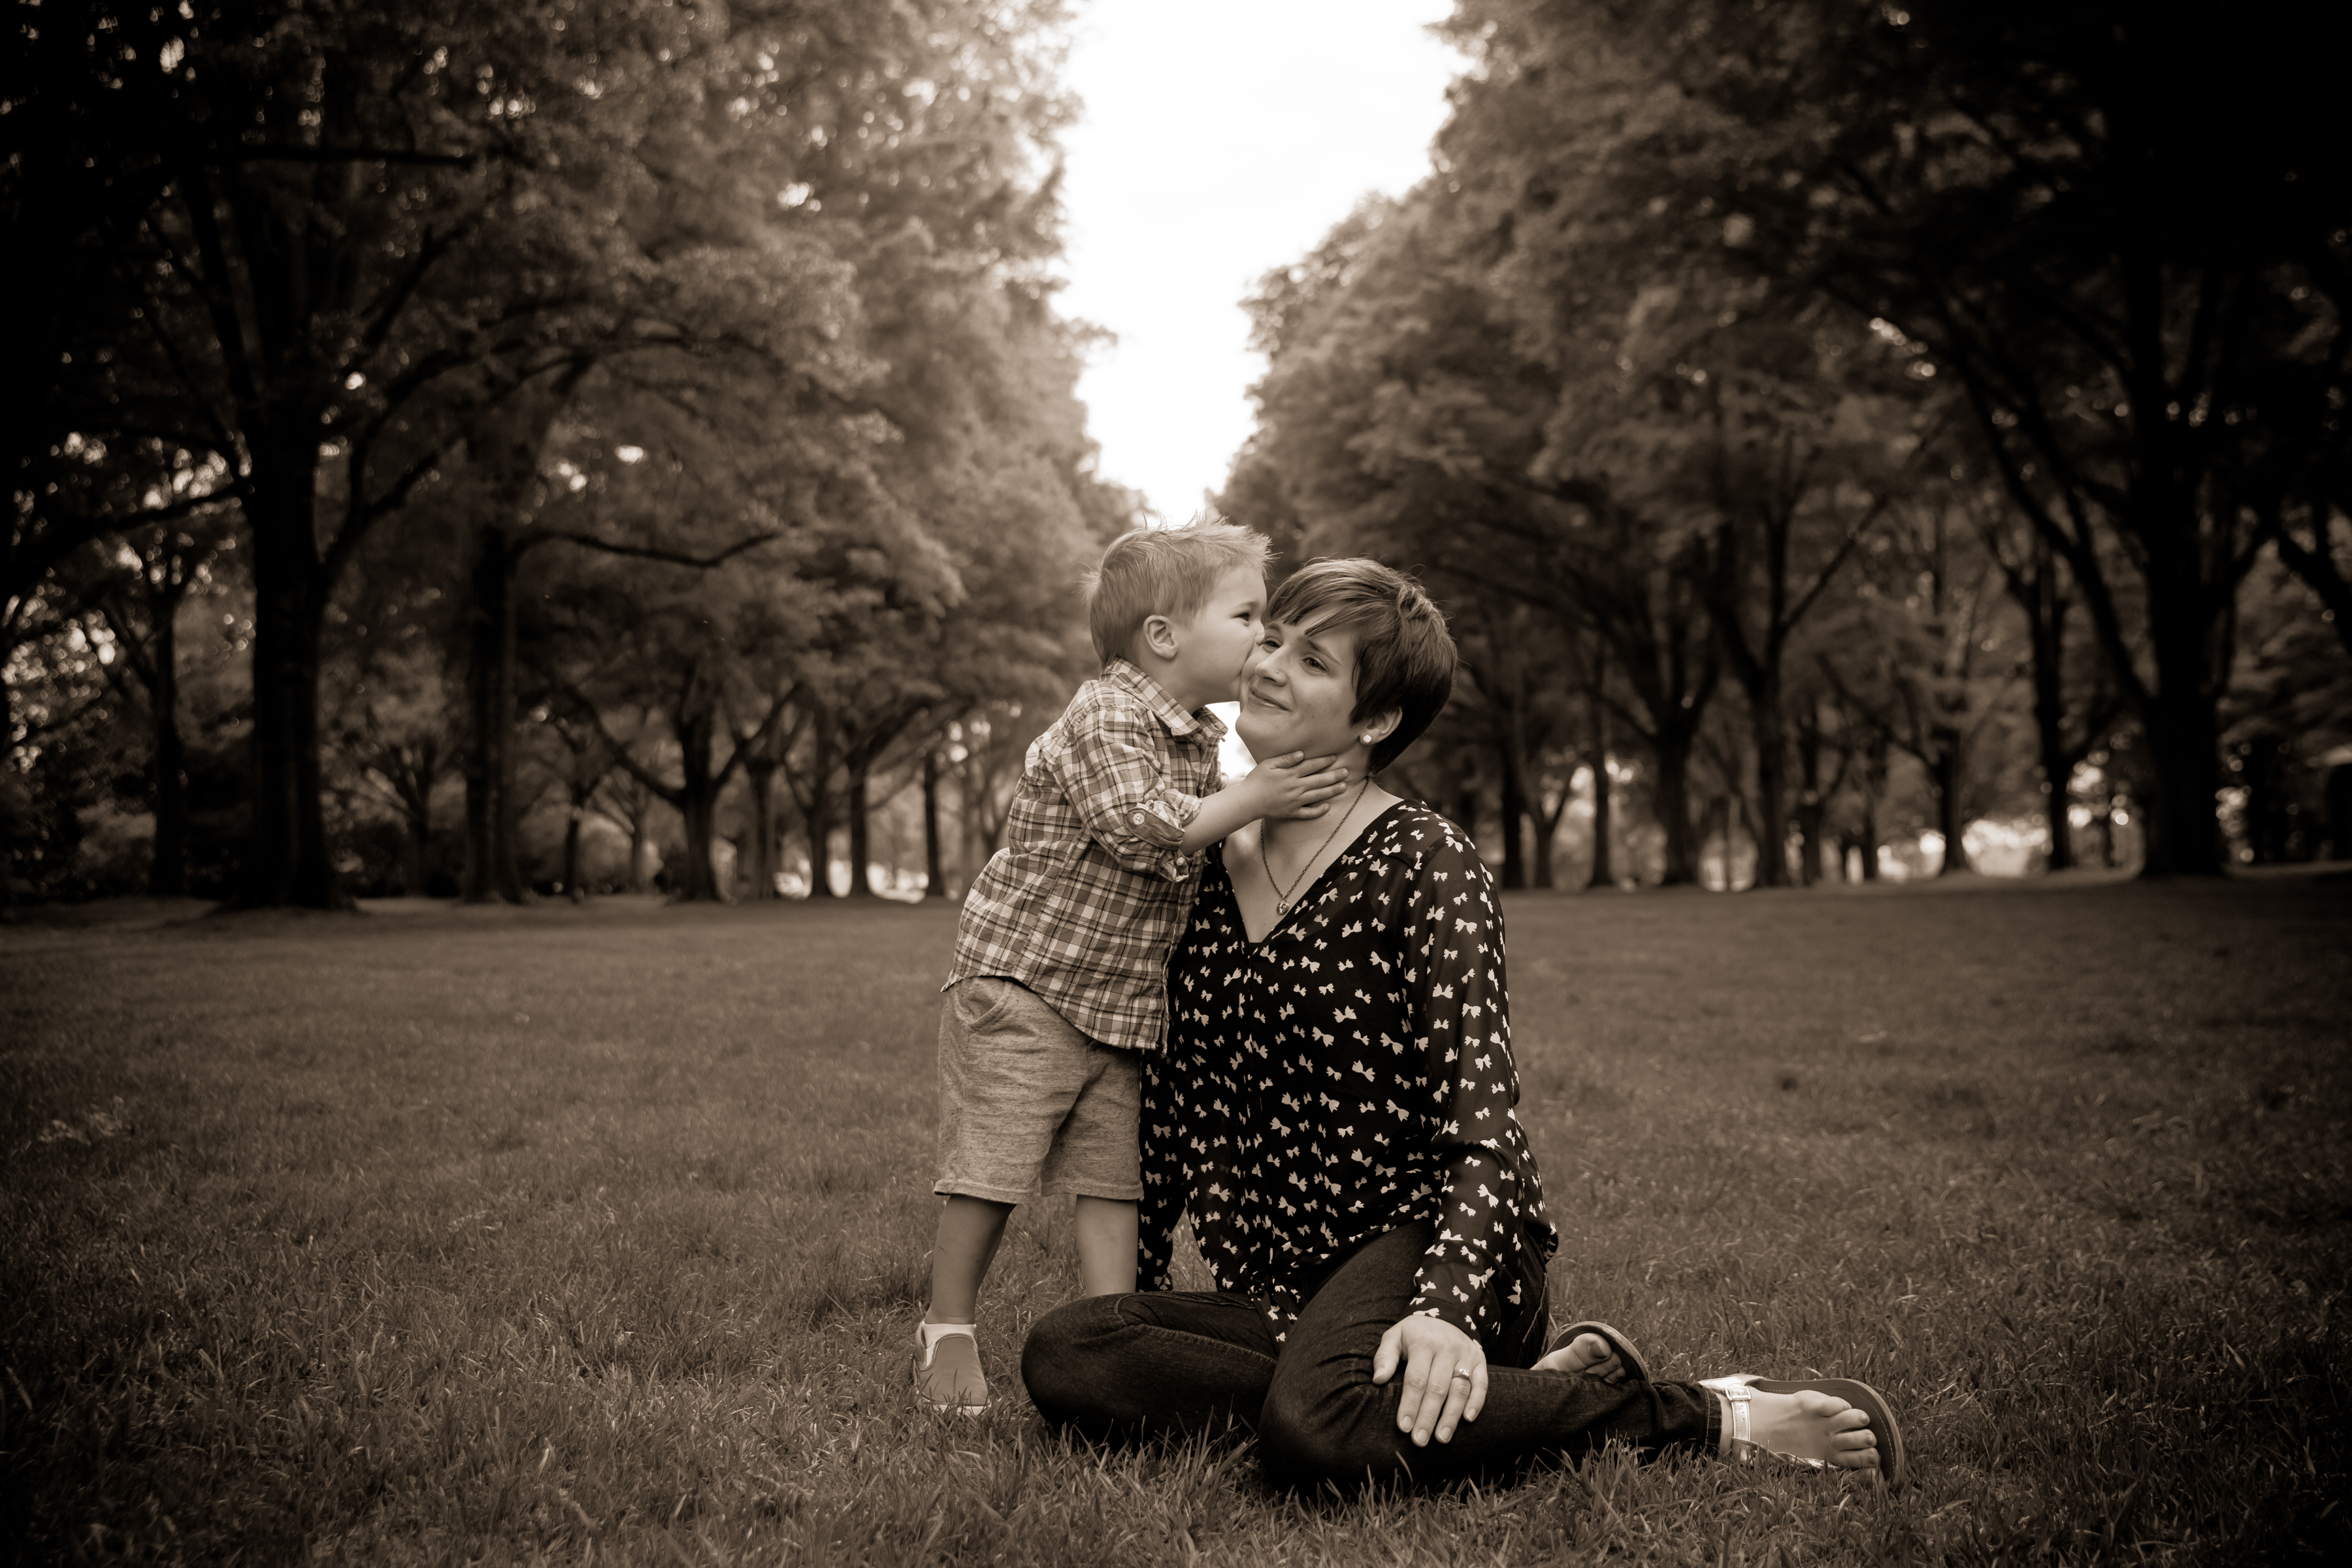
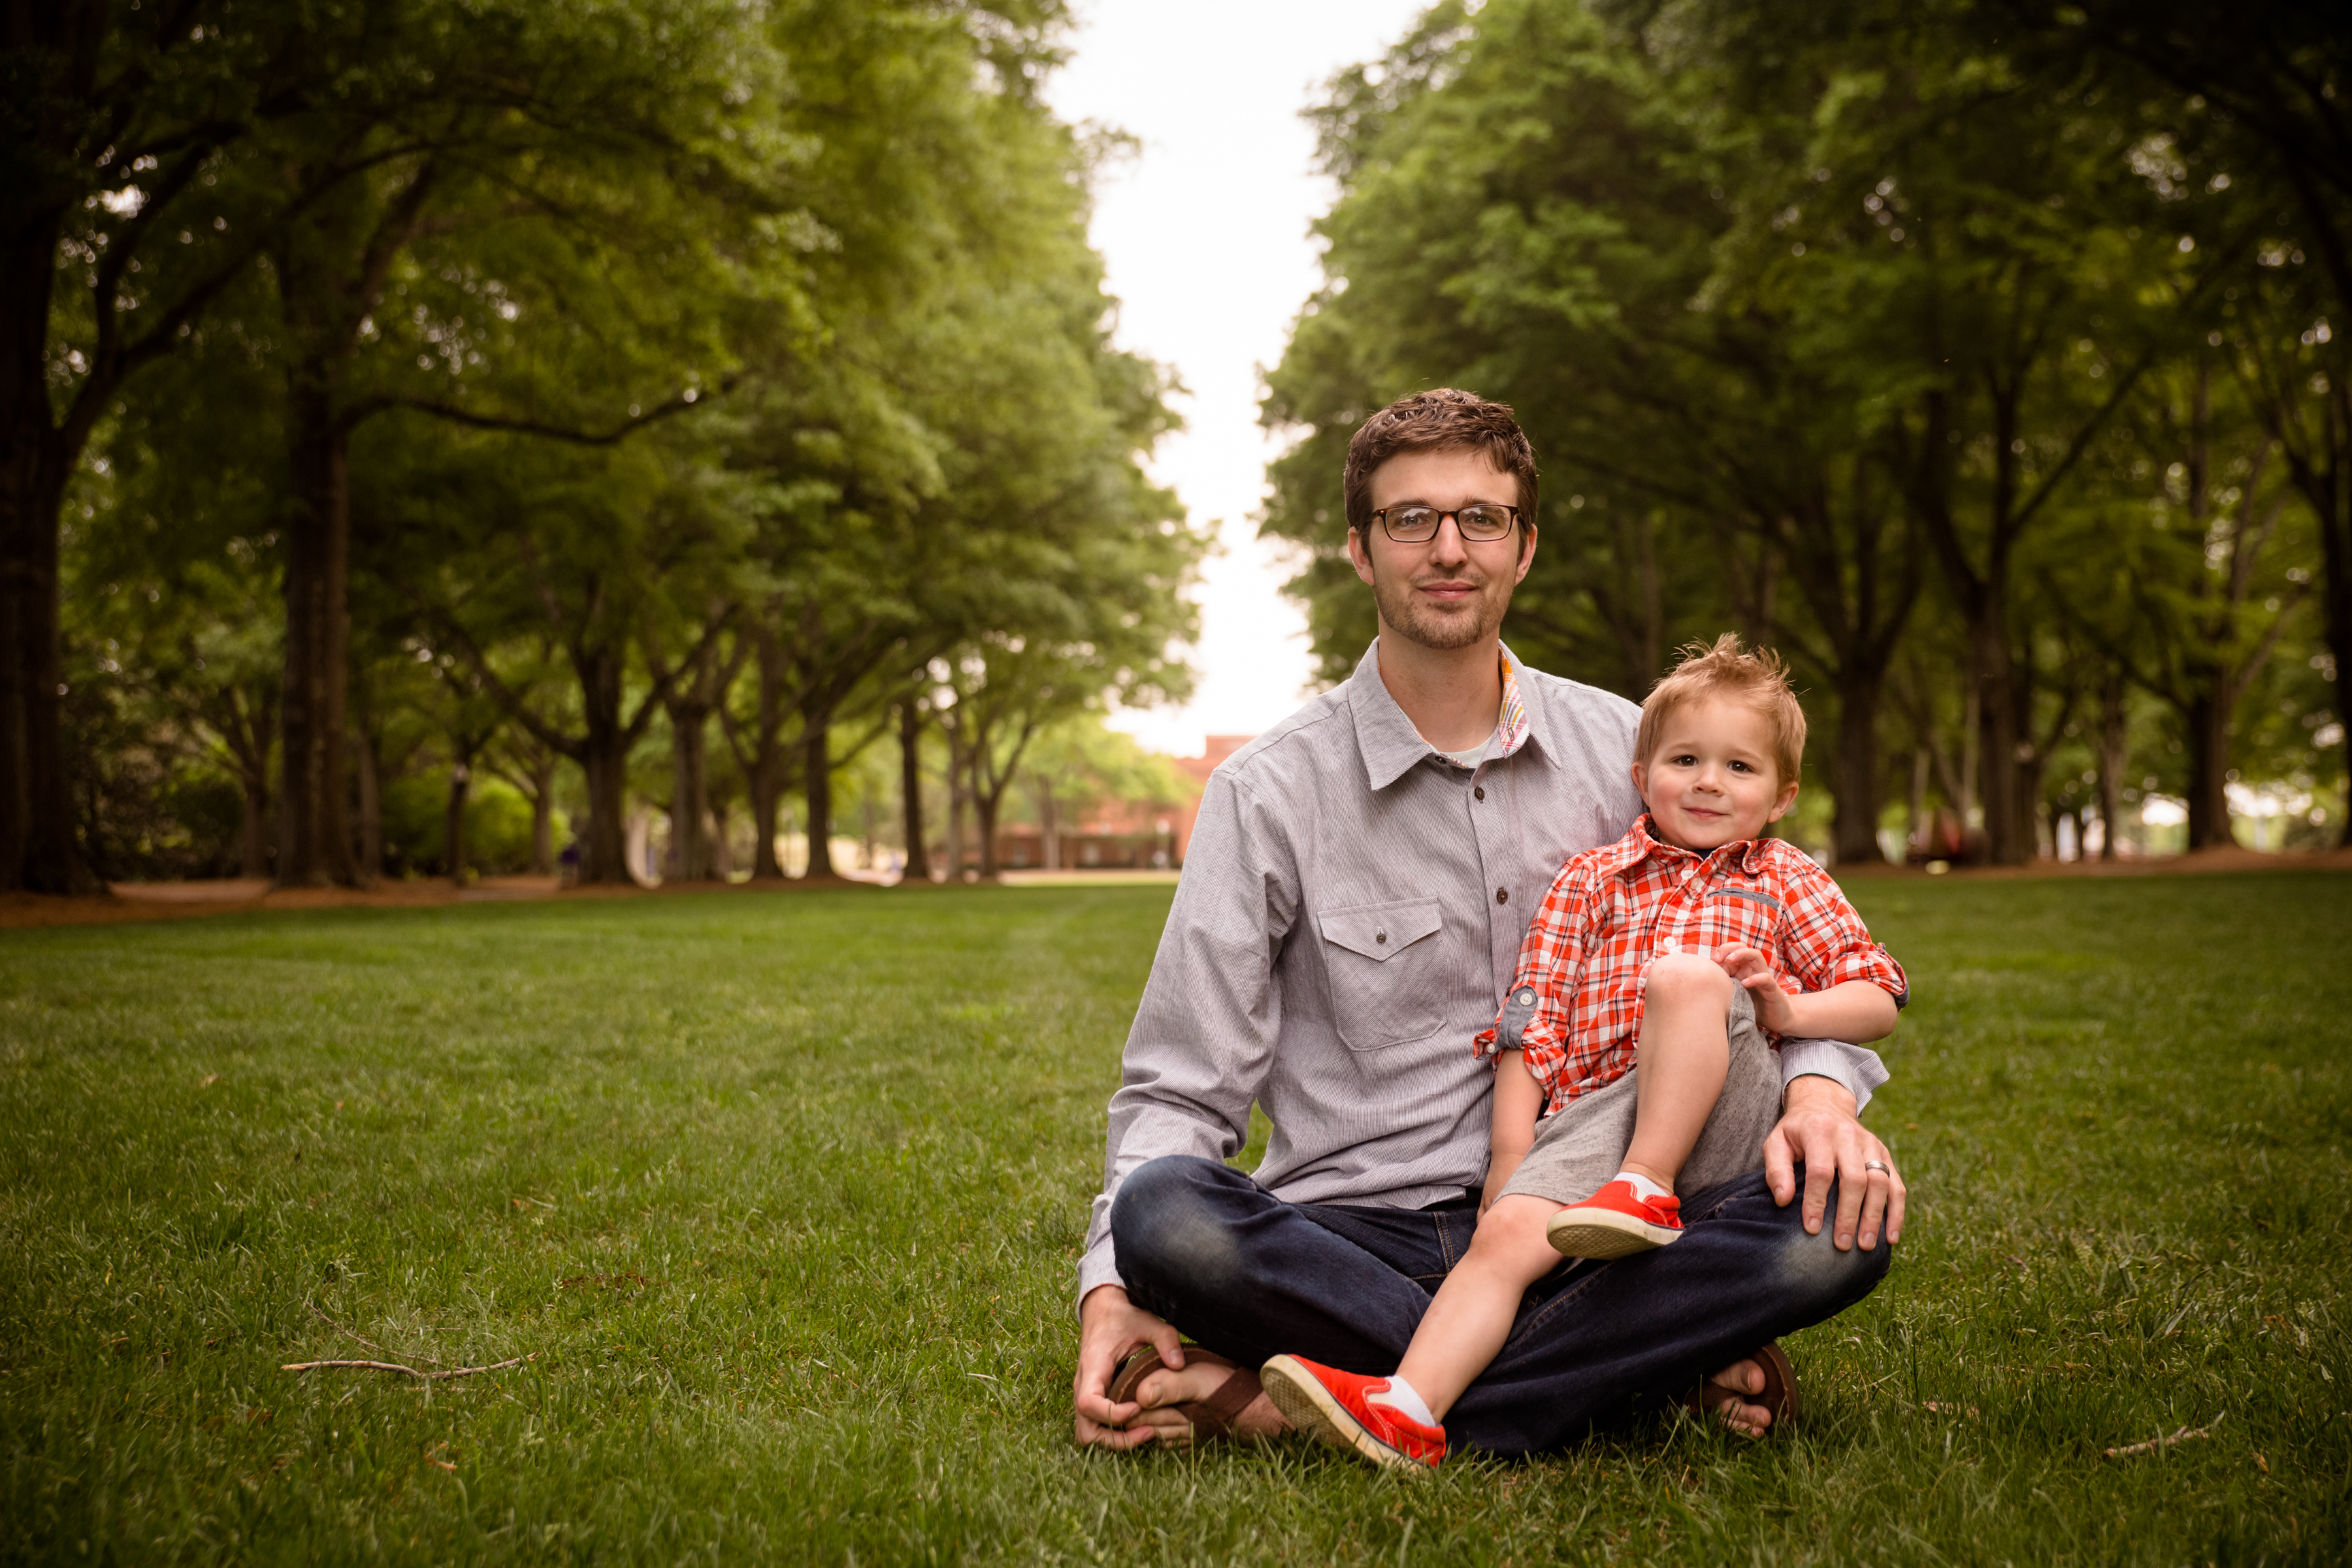
Update: We had family pictures taken this week and got them back much sooner than I anticipated so I got permission from our photographer (check them out here!) to use these pictures for the blog post. Why not take advantage of having a professional shoot the shirt, right? So deleted the pictures that I took and put in these. Enjoy some great pics…and I might have thrown in a few extra just because they turned out so good! 🙂 Which is a miracle considering the antics that Oliver was pulling during the shoot. One of my goals for Easter this year was to have each of the 4 of us in something handmade. I’m not sure why I had this in my head, but I just thought it would be something special. I already had my Easter dress made several weeks ago, and I cheated a bit with Eliot because he fit into Oliver’s handmade vest from his first Easter. I knew I would be making the Hosh pants for Oliver, so that just left Ian as the final one who needed something.
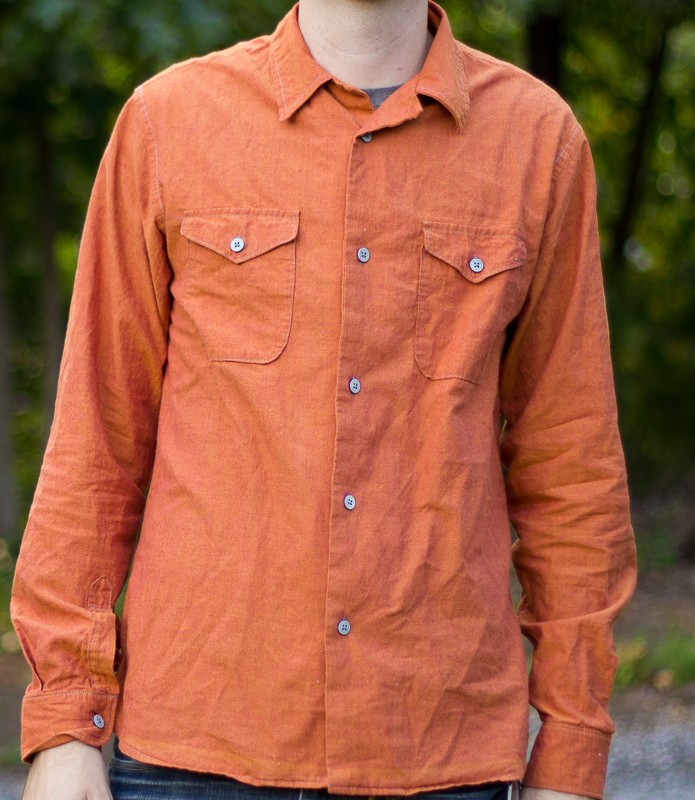
I had promised him another dress shirt after I made his first Negroni button down for our anniversary last year. He really wanted a version with a button placket and traditional collar. I picked up this navy and white pinstripe shirting at Joann. It is such a nice weight for the shirt!
The shirt construction was fairly easy because I had done it before. Pattern is the Negroni available here. Thankfully the size M fits Ian perfectly so I didn’t need to do any pattern alterations. I followed this tutorial for the button placket. The only change I made is that I interfaced the button plackets.
I continued along in the tutorial to attach the yoke to the shirt body and draft the collar and collar stand. Unfortunately my brain stopped working during the “burrito” part of the yoke attaching and I had to seam rip and reattach like 3 times…grrr…grumbledy, grumbledy, blerg. Once I finally got that down, the rest of the shirt was super easy.

I used another of Ian’s shirts as a template to draft the collar and was v. proud of myself when it worked perfectly. Still cannot believe my luck on that one! Might be in danger of getting a big head. 😉

I cut the pockets on the bias to add a little interest. FYI my walking foot was a life-saver here to keep the bias-cut fabric from stretching out of control during construction! Contrast facings are a joel dewberry plaid that Ian picked out. I love the little pop that they add to the shirt.

All in all, it was a very successful sewing experience and I already have requests for several more shirts! Got quite a bit to get done before that happens though so don’t hold your breath to see any more anytime soon. I am pretty happy with myself that I finished a project for Ian on time! I am so bad about his projects that I tend to get them done months after I said I would. I may or may not have been completing the buttons on this shirt at 11:00 Saturday night, but hey, I made my deadline! 🙂 And below are a few more pictures for any who wish to view…feel free to not scroll down if you’re sick of us already!