Pincushion Swap

pincushion

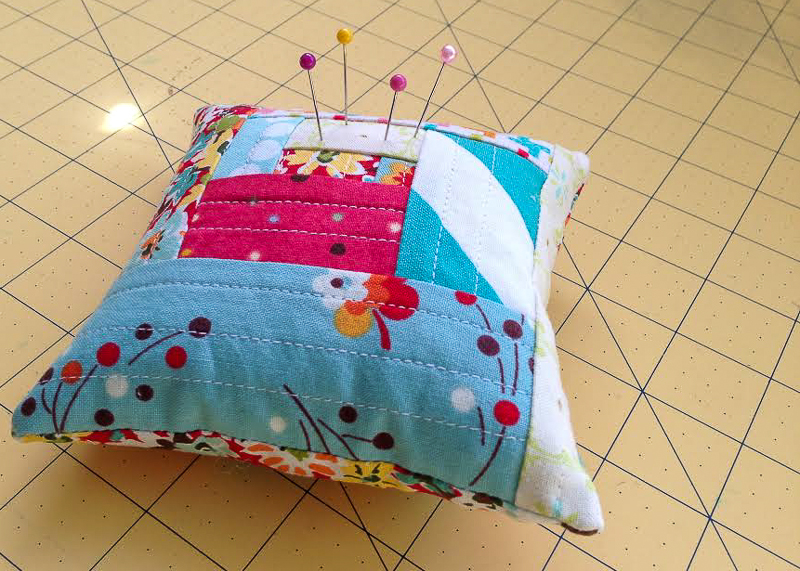
Last Saturday at our March meeting of the Greenville Modern Quilt Guild we had a pincushion swap. There were no rules or regulations as long as it was a functional pincushion. For February’s meeting I taught a little demo on the quilt as you go (QAYG) technique, and I really enjoyed it so I decided to make a little mini QAYG log cabin pincushion for my swap entry.

pincushion

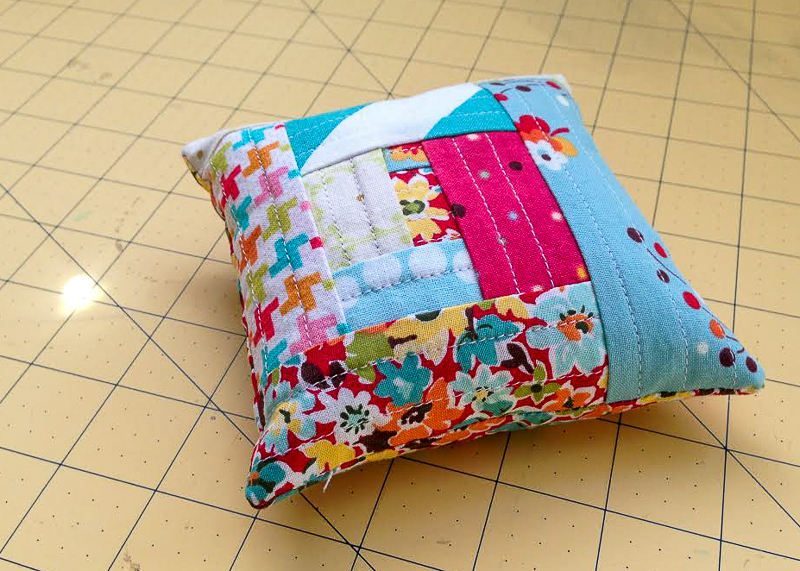
I bought some crushed walnut shells from a quilt show several years back and have always meant to make a pincushion but never got around to it. We all have those kind of projects sitting around right? I was glad to have the push of the guild swap to force me to make one. Like I said, I did the QAYG method with a loose version of the log cabin block. Also I stuffed it 1/3 of the way with the crushed shells and then finished it off with fiberfill to give it a nice cushy filling. Now that I realize how easy it was to make the pincushion, I want to make another one for myself!

pincushion

Here’s a picture of all the pincushions entered. We didn’t have as many participants as we were hoping because it was a low month attendance-wise, but it was still a fun swap. And check out what I got to bring home. That lovely one in the middle with the bonnie and camille half dresden…yeah that’s mine. Made by my lovely friend Cheryl. So happy that I got hers in the random draw.

pincushion

Advertisement

Let’s Quilt! part 2

For part 1 in this series go here.

I have finished two blocks for my online quilting class- a log cabin block and a rail fence block. I have done a log cabin block several times but never a rail fence. I found the construction of both blocks to be fairly simple and straightforward. I did take a long time in deciding color/fabric choices for my blocks because both of them can turn out very differently based on where you place your fabrics. I am happy to announce that both my blocks ended up 18.5 inches square- a rare feat for me! I think the solution is accurate pressing of the strips as you sew.

First: the log cabin block

I really wanted to show the two color palettes in this block. I also wanted to have a graduated intensity toward the outside of the block. I really like how the finished block turned out. This block doesn’t look square, but I promise you that it is!

Next: the rail fence block

This block utilizes dark, medium, and light fabric hues to draw your eye across and down the block. I spent forever debating medium versus dark fabrics and finally ended up with the choices you see here. While I don’t know if this is a perfect representation of the dark, medium, and light hues, I am pleased with the flow of the block. I will definitely keep this block in my repertoire to use again.

I had hoped to have a third block to show to you tonight, but alas I am struggling with the construction of this one and after sewing wrong sides together 2x in a matter of minutes, I have decided to put this aside until tomorrow to complete with a fresh mind. Do you find that as you rush to finish projects, you make stupid mistakes? I most definitely do and am learning to stop when I get to this point in order prevent unnecessary frustration! Here’s a sneak peek at that third block and my mistake.