First of all, the giveway continues on through tomorrow night so head over and leave a comment if you haven’t yet to get your name in the hat. I’ve really enjoyed all the comments and new followers I have met this week!
Part 1 of the tutorial: here
Part 2 of the tutorial: here
Final Part: Backing and Quilting
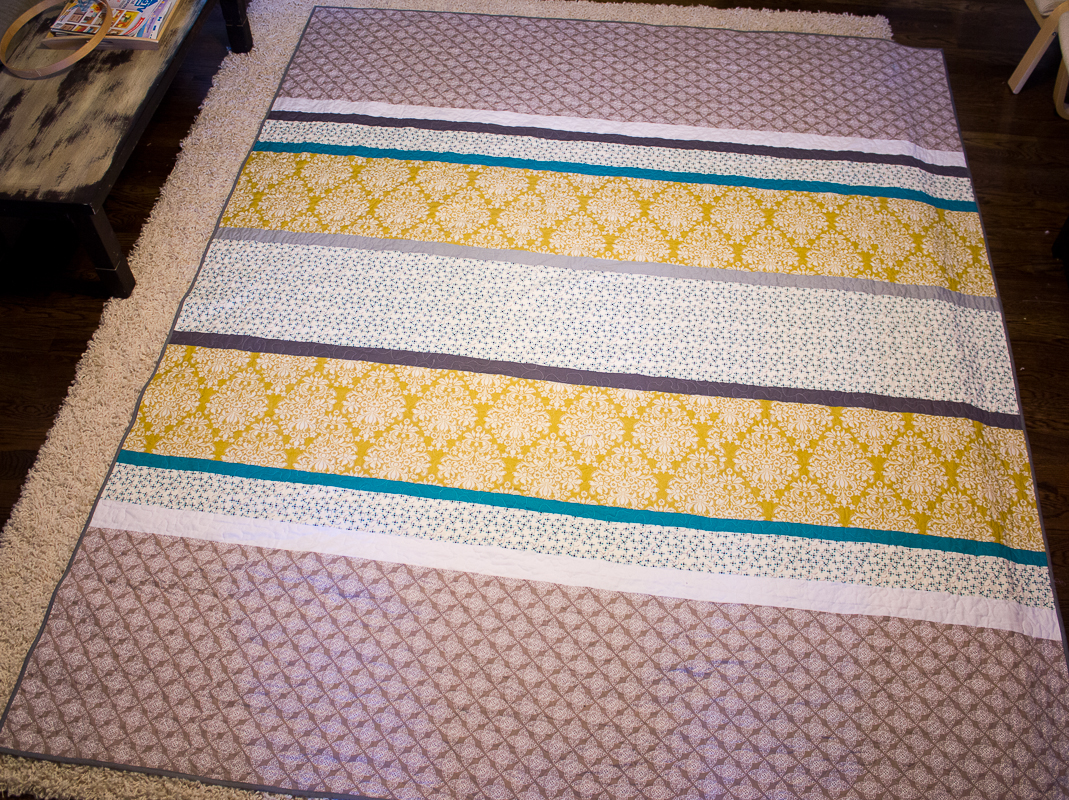
- I just did a basic strip piecing for the backing- cutting varying widths of fabrics and sewing them together until it was long enough for a backing
- Because this turned out so big (King Size!) I spray basted the quilt and then just did an all-over stipple on my sewing machine.
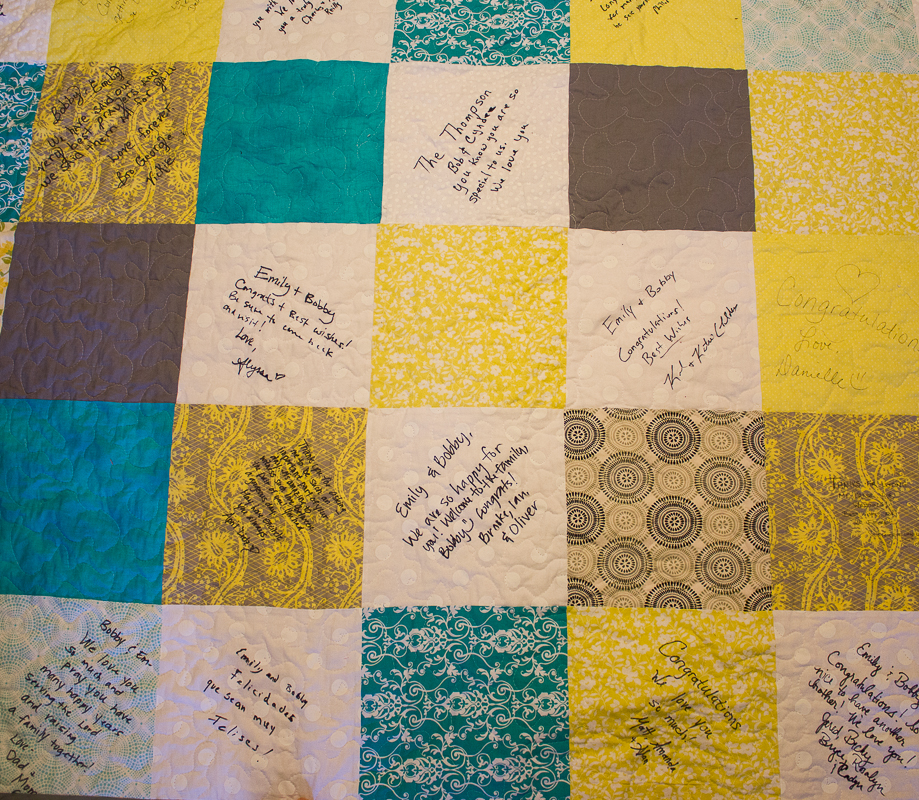
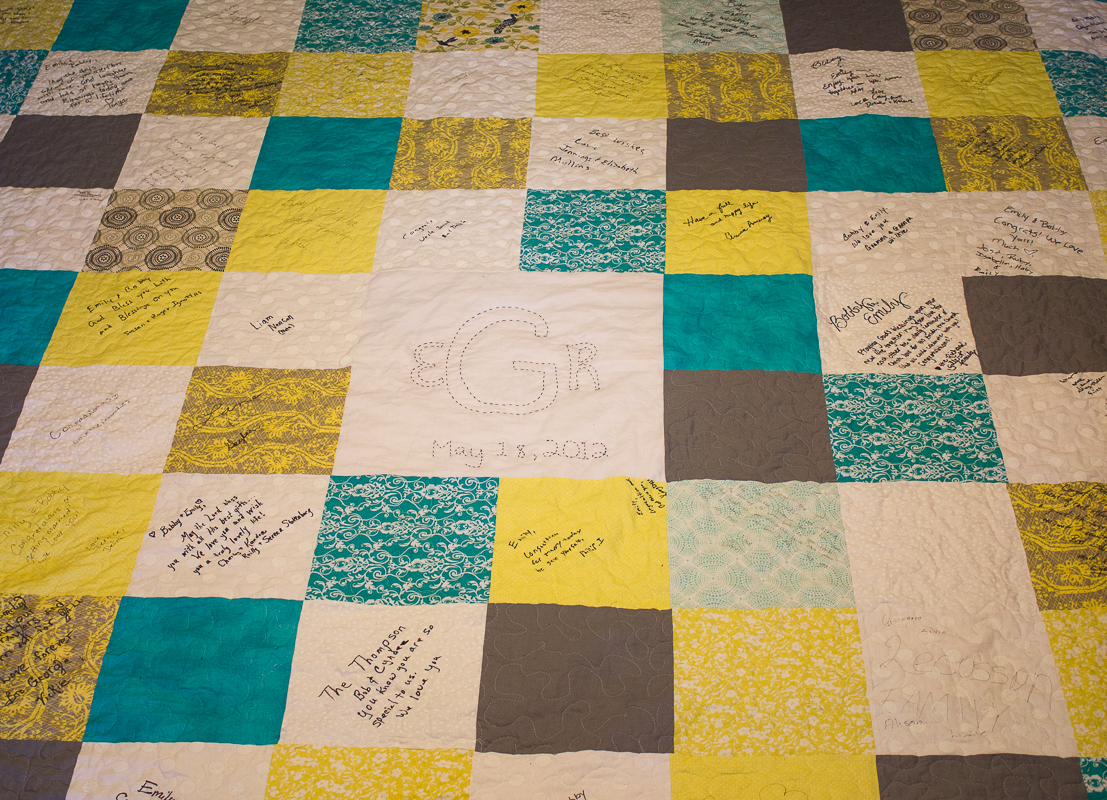
- I traced out the initials and the date with my fabric marker and then hand-embroidered through all layers with perle cotton using a basic embroidery stitch
- Binding is machine sewn
- And done! Yay! 🙂
Oh I wish you could see the happy dance that I am doing right now! I am so very, very happy to have this quilt finished. Part of me thought I could never get it done, but I was wrong- due in main part to the amazingness of my new Bernina. I never could have quilted this thing on my old Singer.
I have had the backing and top finished for a while and have been putting off quilting it because I was not sure how I was going to get the king-size quilt through a regular sewing machine. I am not going to say it was the easiest thing in the world but it was possible. I have a list of projects that need to be completed before baby comes and this was number one on the list so I just determined that this week would be the week that I finished it.
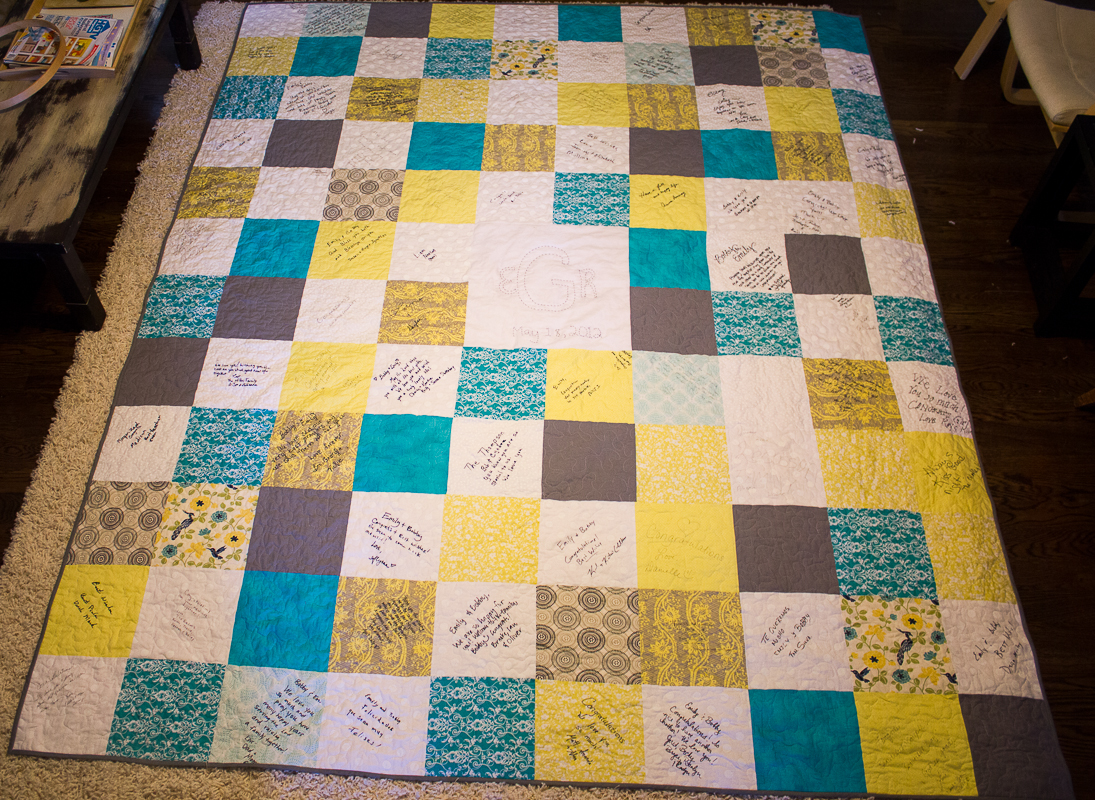
Monday, I spray basted the quilt (quite a job with a quilt this big!) and then added a few pins to give a little additional support. I spent Tuesday and Wednesday quilting both during nap time and at night. I think it took me a total of about 5 hours to machine quilt. I decided to stipple the quilt because I liked how it turned out on the last quilt I did, and, for me, it’s a lot faster than any other method. I’m not gonna lie- those middle sections of the quilt were tough! All that extra material bunched up in the harp space was a bit of a pain. However, all things considered, it was easier than I had anticipated it being. Then I did some hand quilting in the very middle of the quilt with the initials of the married couple and their wedding date. (Yeah notice how it’s almost exactly a year ago…lol).
Today it was binding time. I was way too tired at this point to even think about making 12 yards of bias tape myself. Thankfully, my local Hobby Lobby had exactly the amount I needed in a gray color almost perfectly matching the Kona gray in the quilt. I also decided to machine stitch the binding on for time and energy reasons. I used my walking foot for the first time and really like how it keeps the bias tape nice and even!
And now the grand ta-da…all finished at last! I really like how the finished project turned out. The stipple quilting is the perfect accent without taking away from the signatures. I would totally recommend doing this for a great wedding keepsake- just do better math that I did and don’t make it quite so large (It is almost exactly the size of my 8×10 rug!)! Sorry for the lack of amazing pictures. If someone has any great ideas of how to photograph a king size quilt feel free to pass that info on to me! Plus I am just too exhausted at this point to attempt a cool photoshoot. If you need me this weekend, I will most likely have my 36 week preggers body on the couch recovering from my quilting marathon!